Ready Steady Paint!
So while the brakes were being sorted I was also painting the ancillaries between bleeding and swearing. The carbs were split down as far as I could, all the oil and grease cleaned off and brackets removed for a lick of paint. I decided to use my old carbs, as I knew these worked and thought this would give me a head start, and then later working of a full strip and rebuild and paint of the spare set of carbs I own.
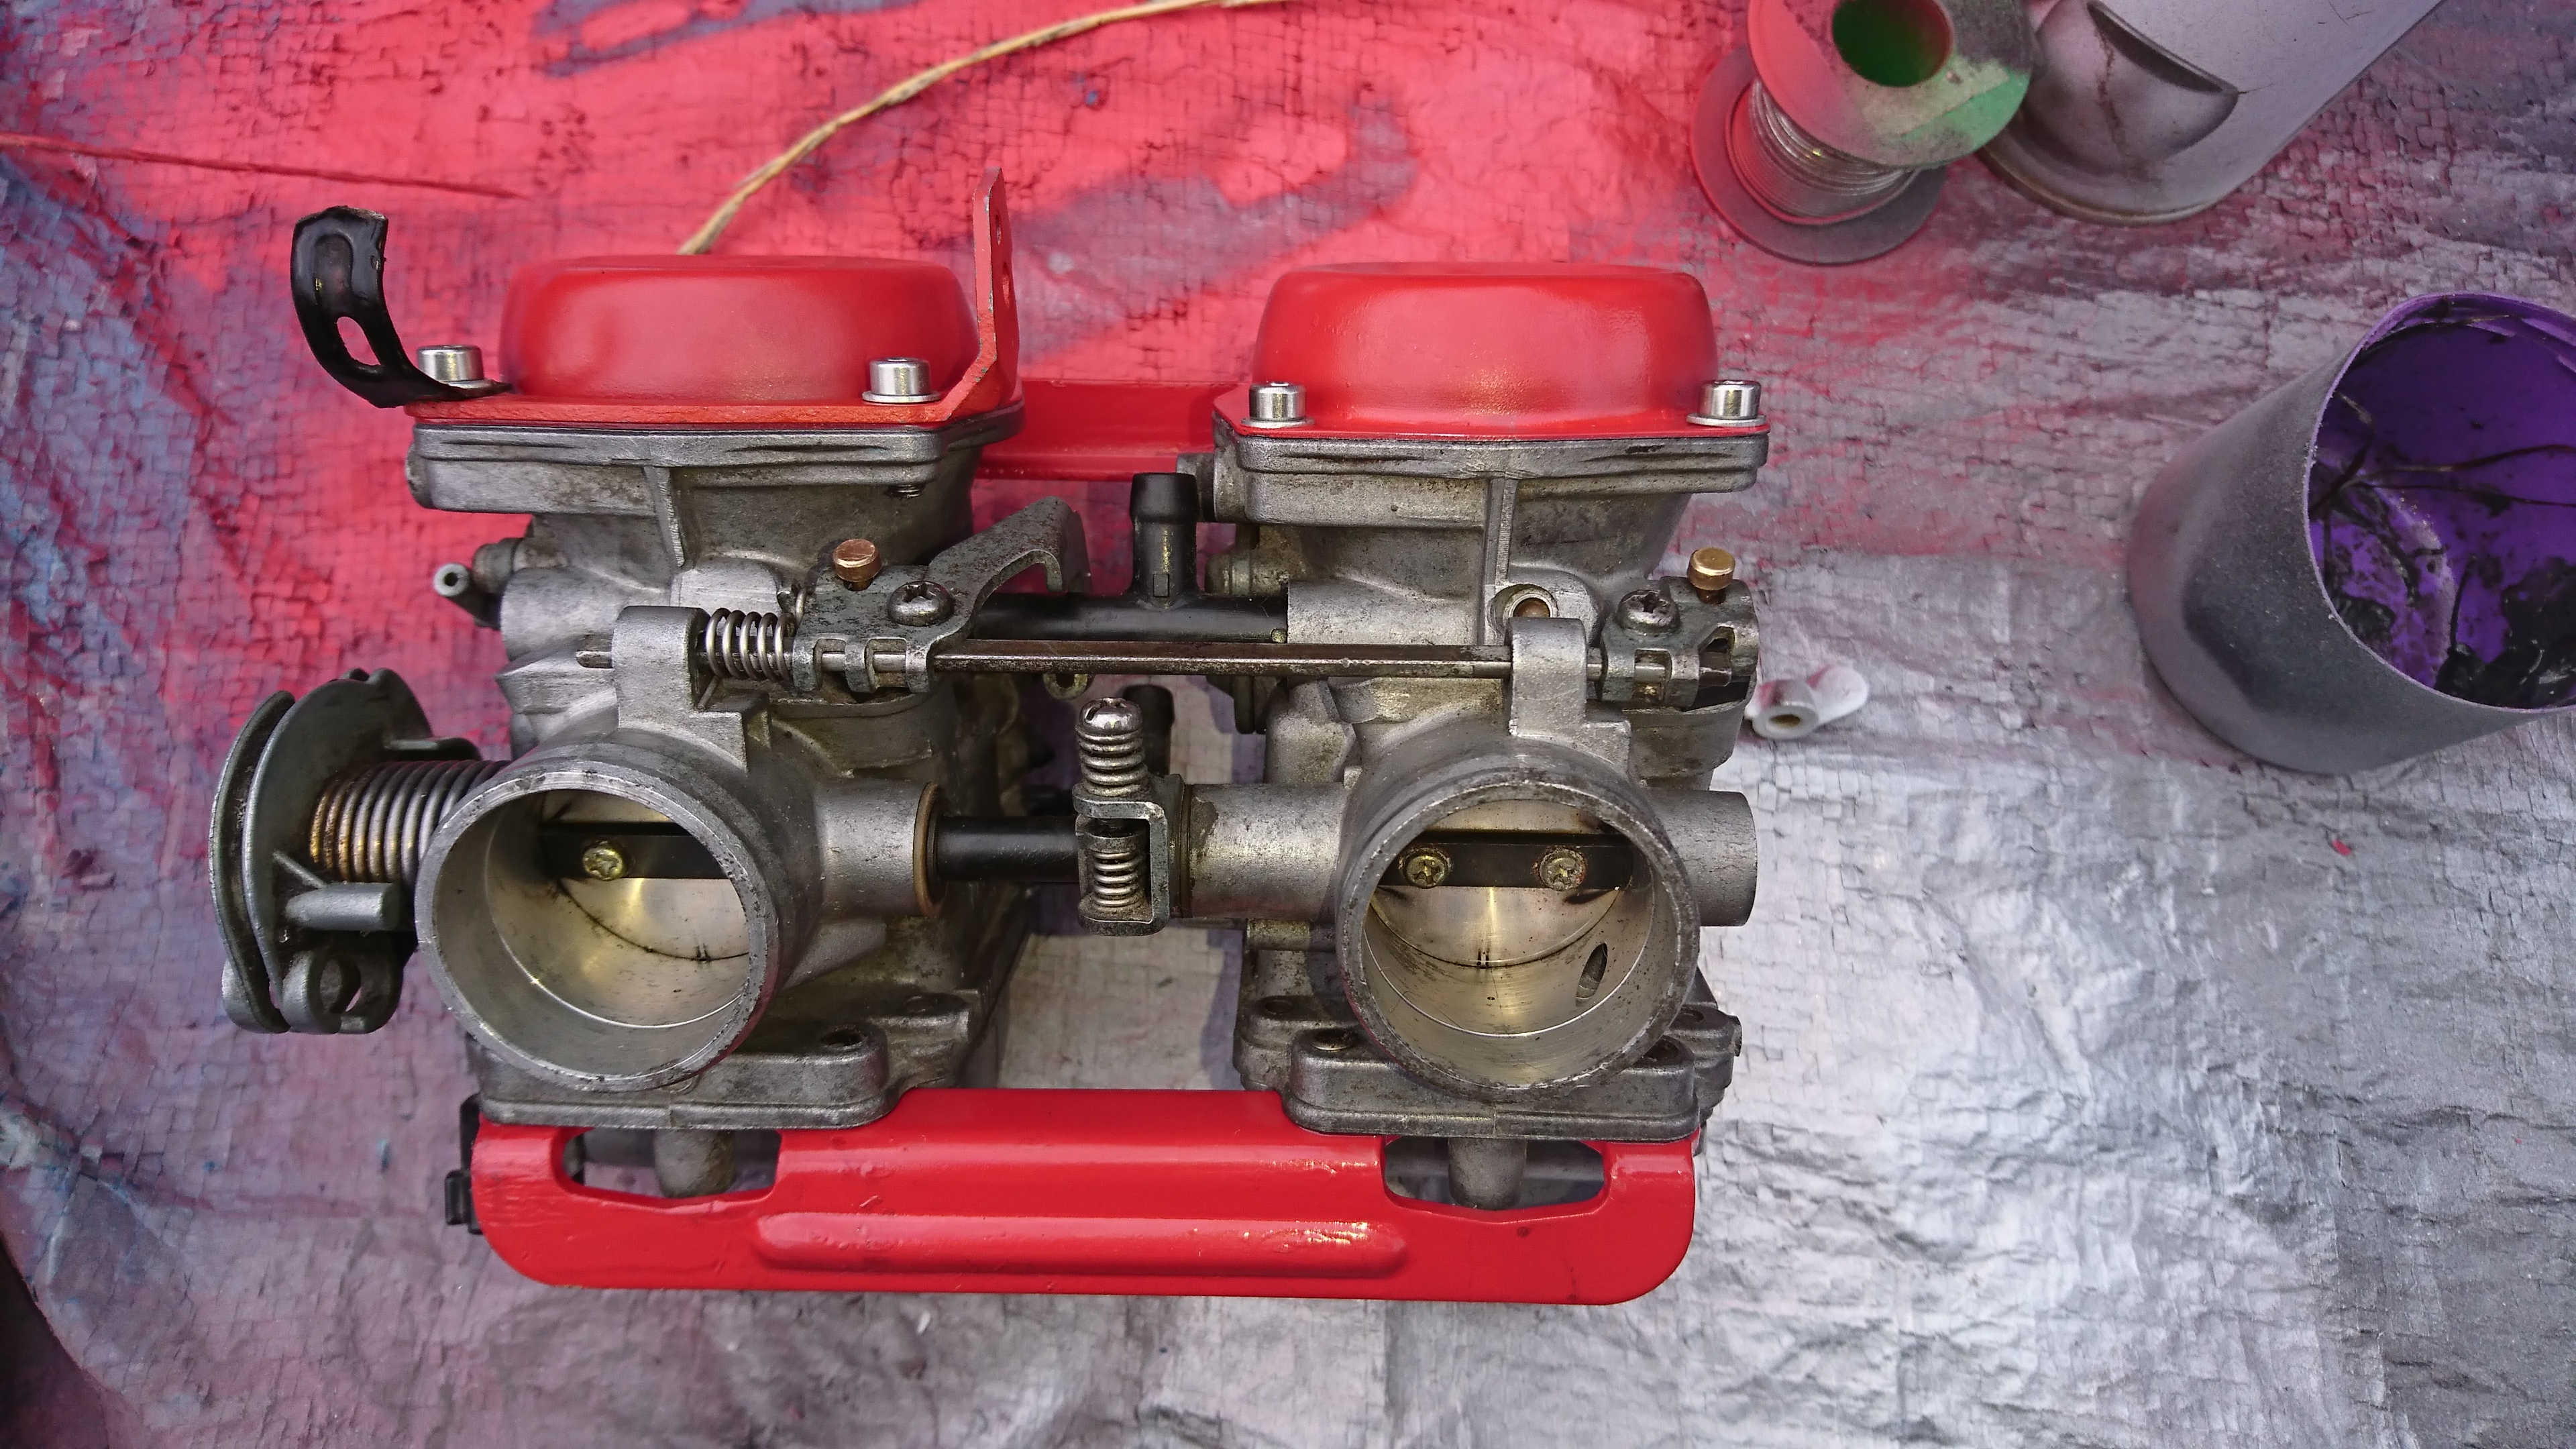
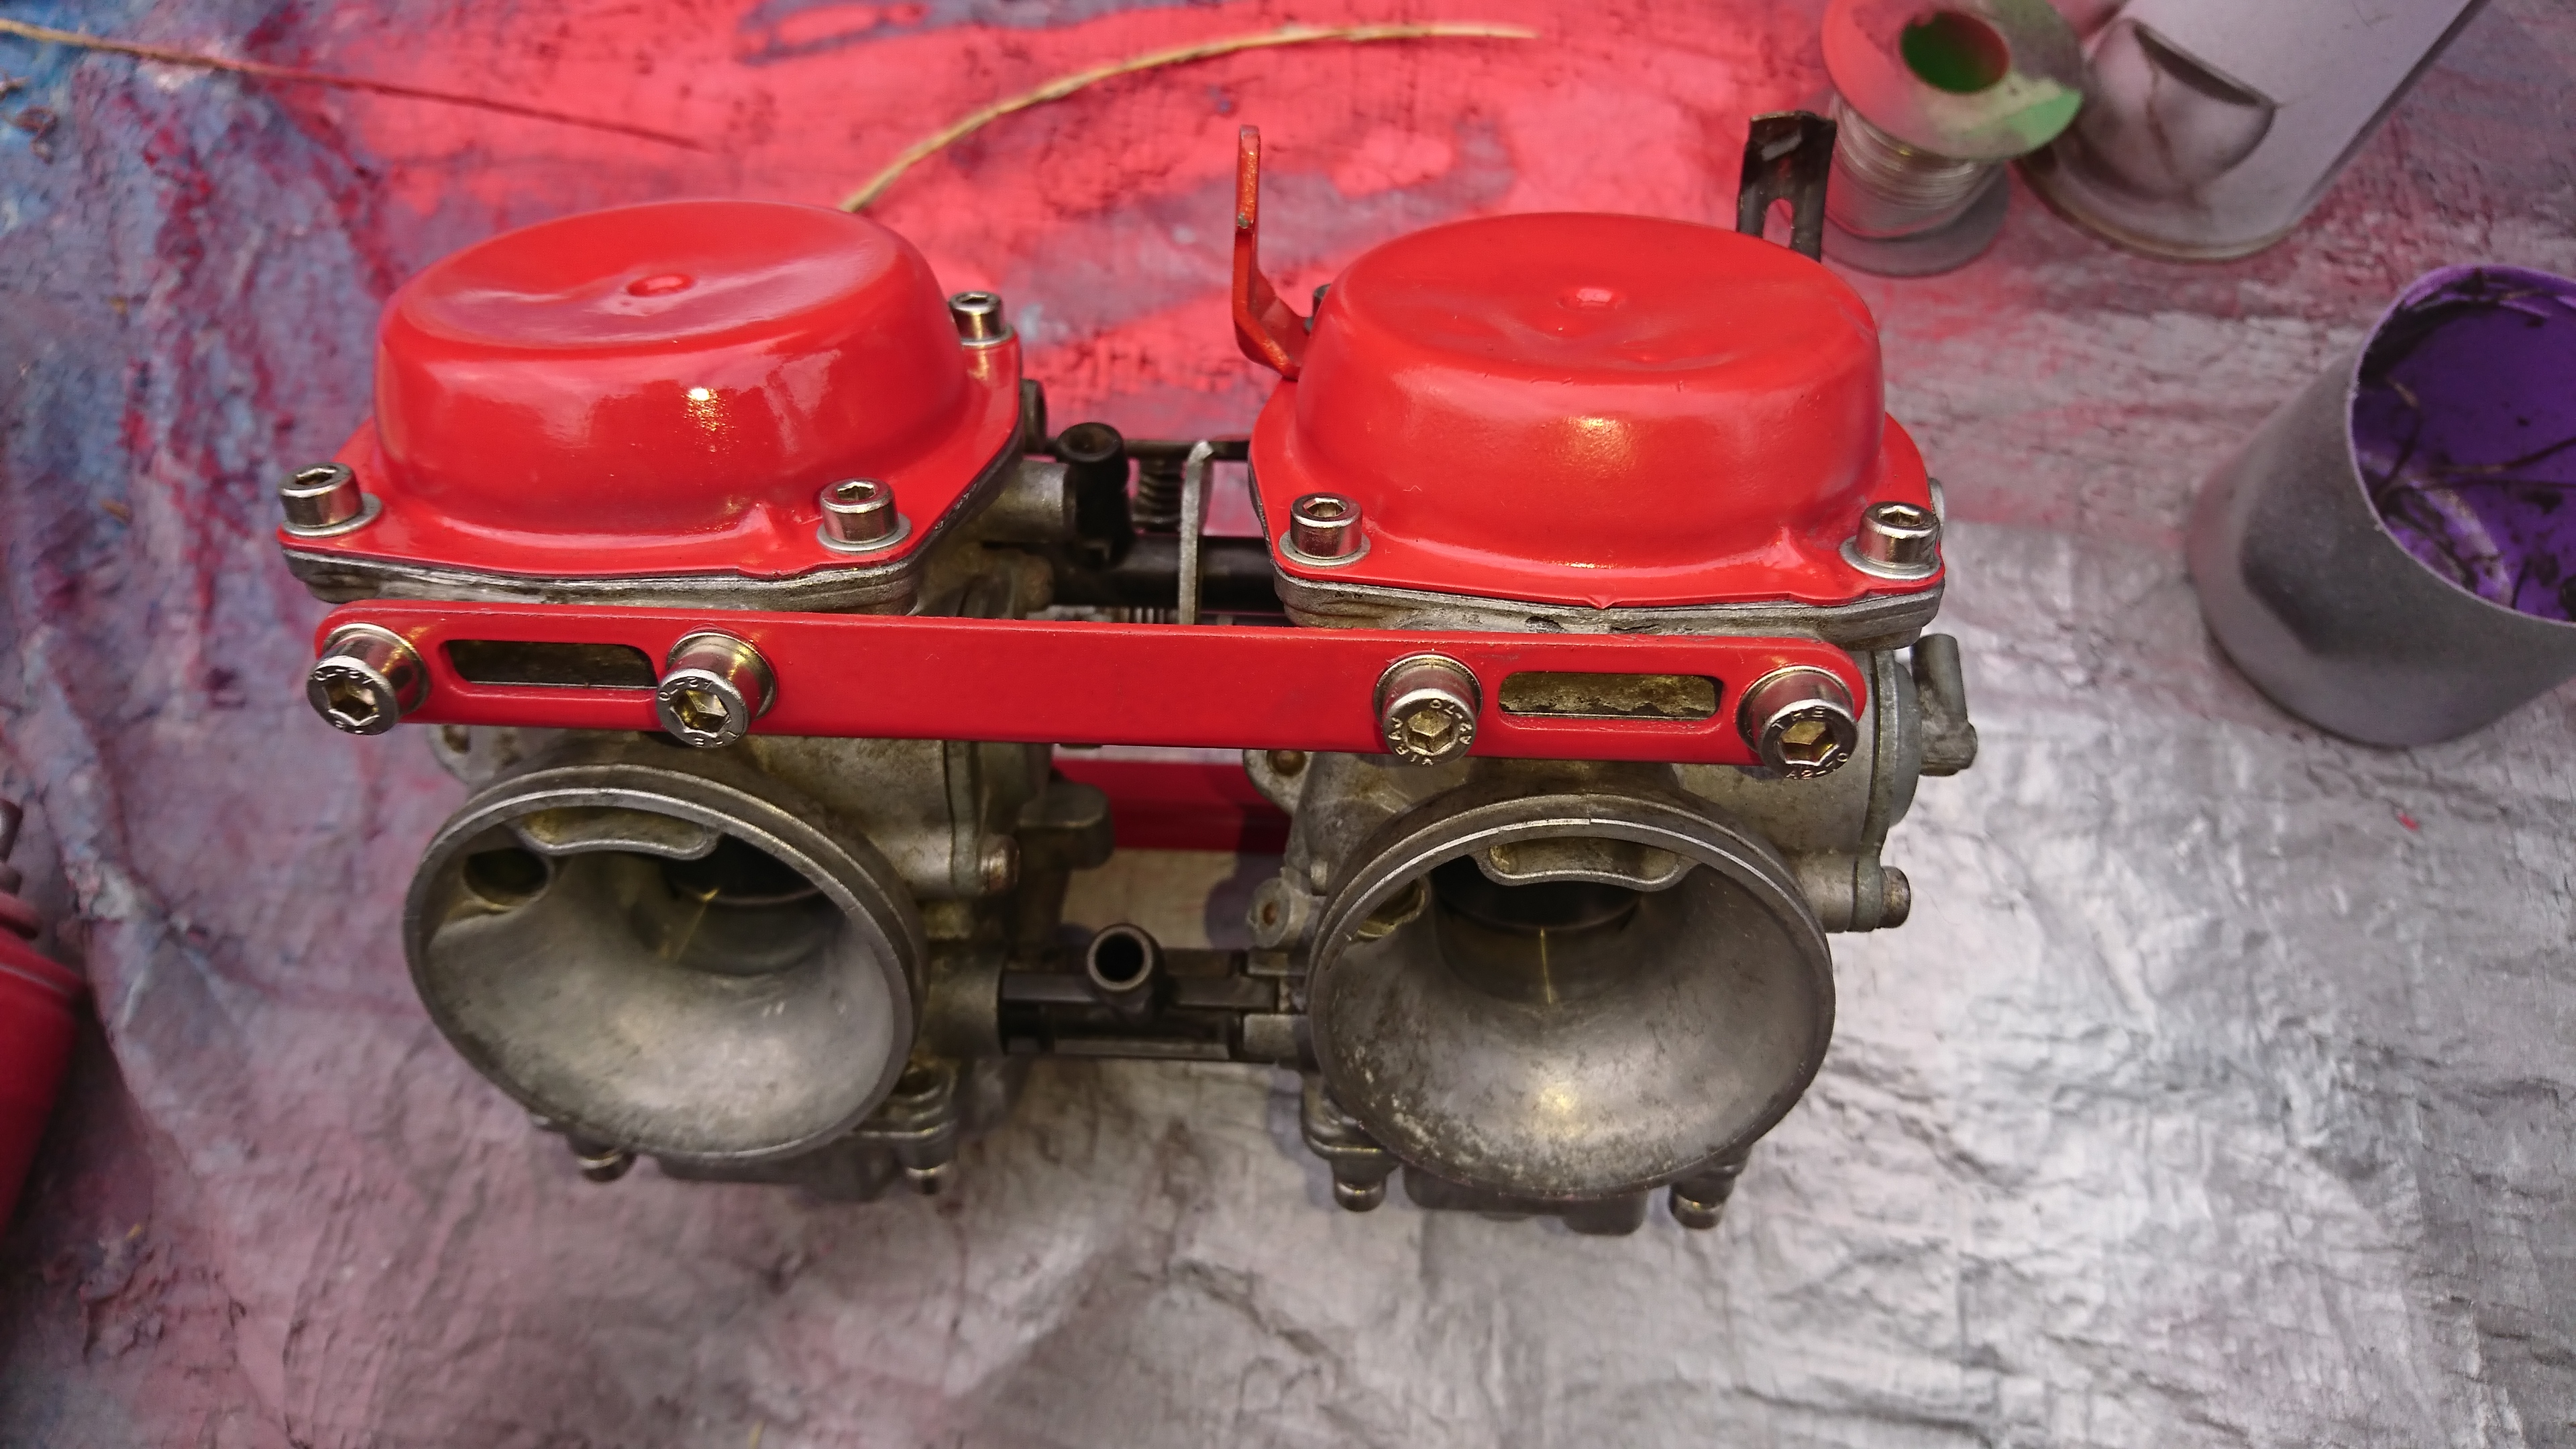

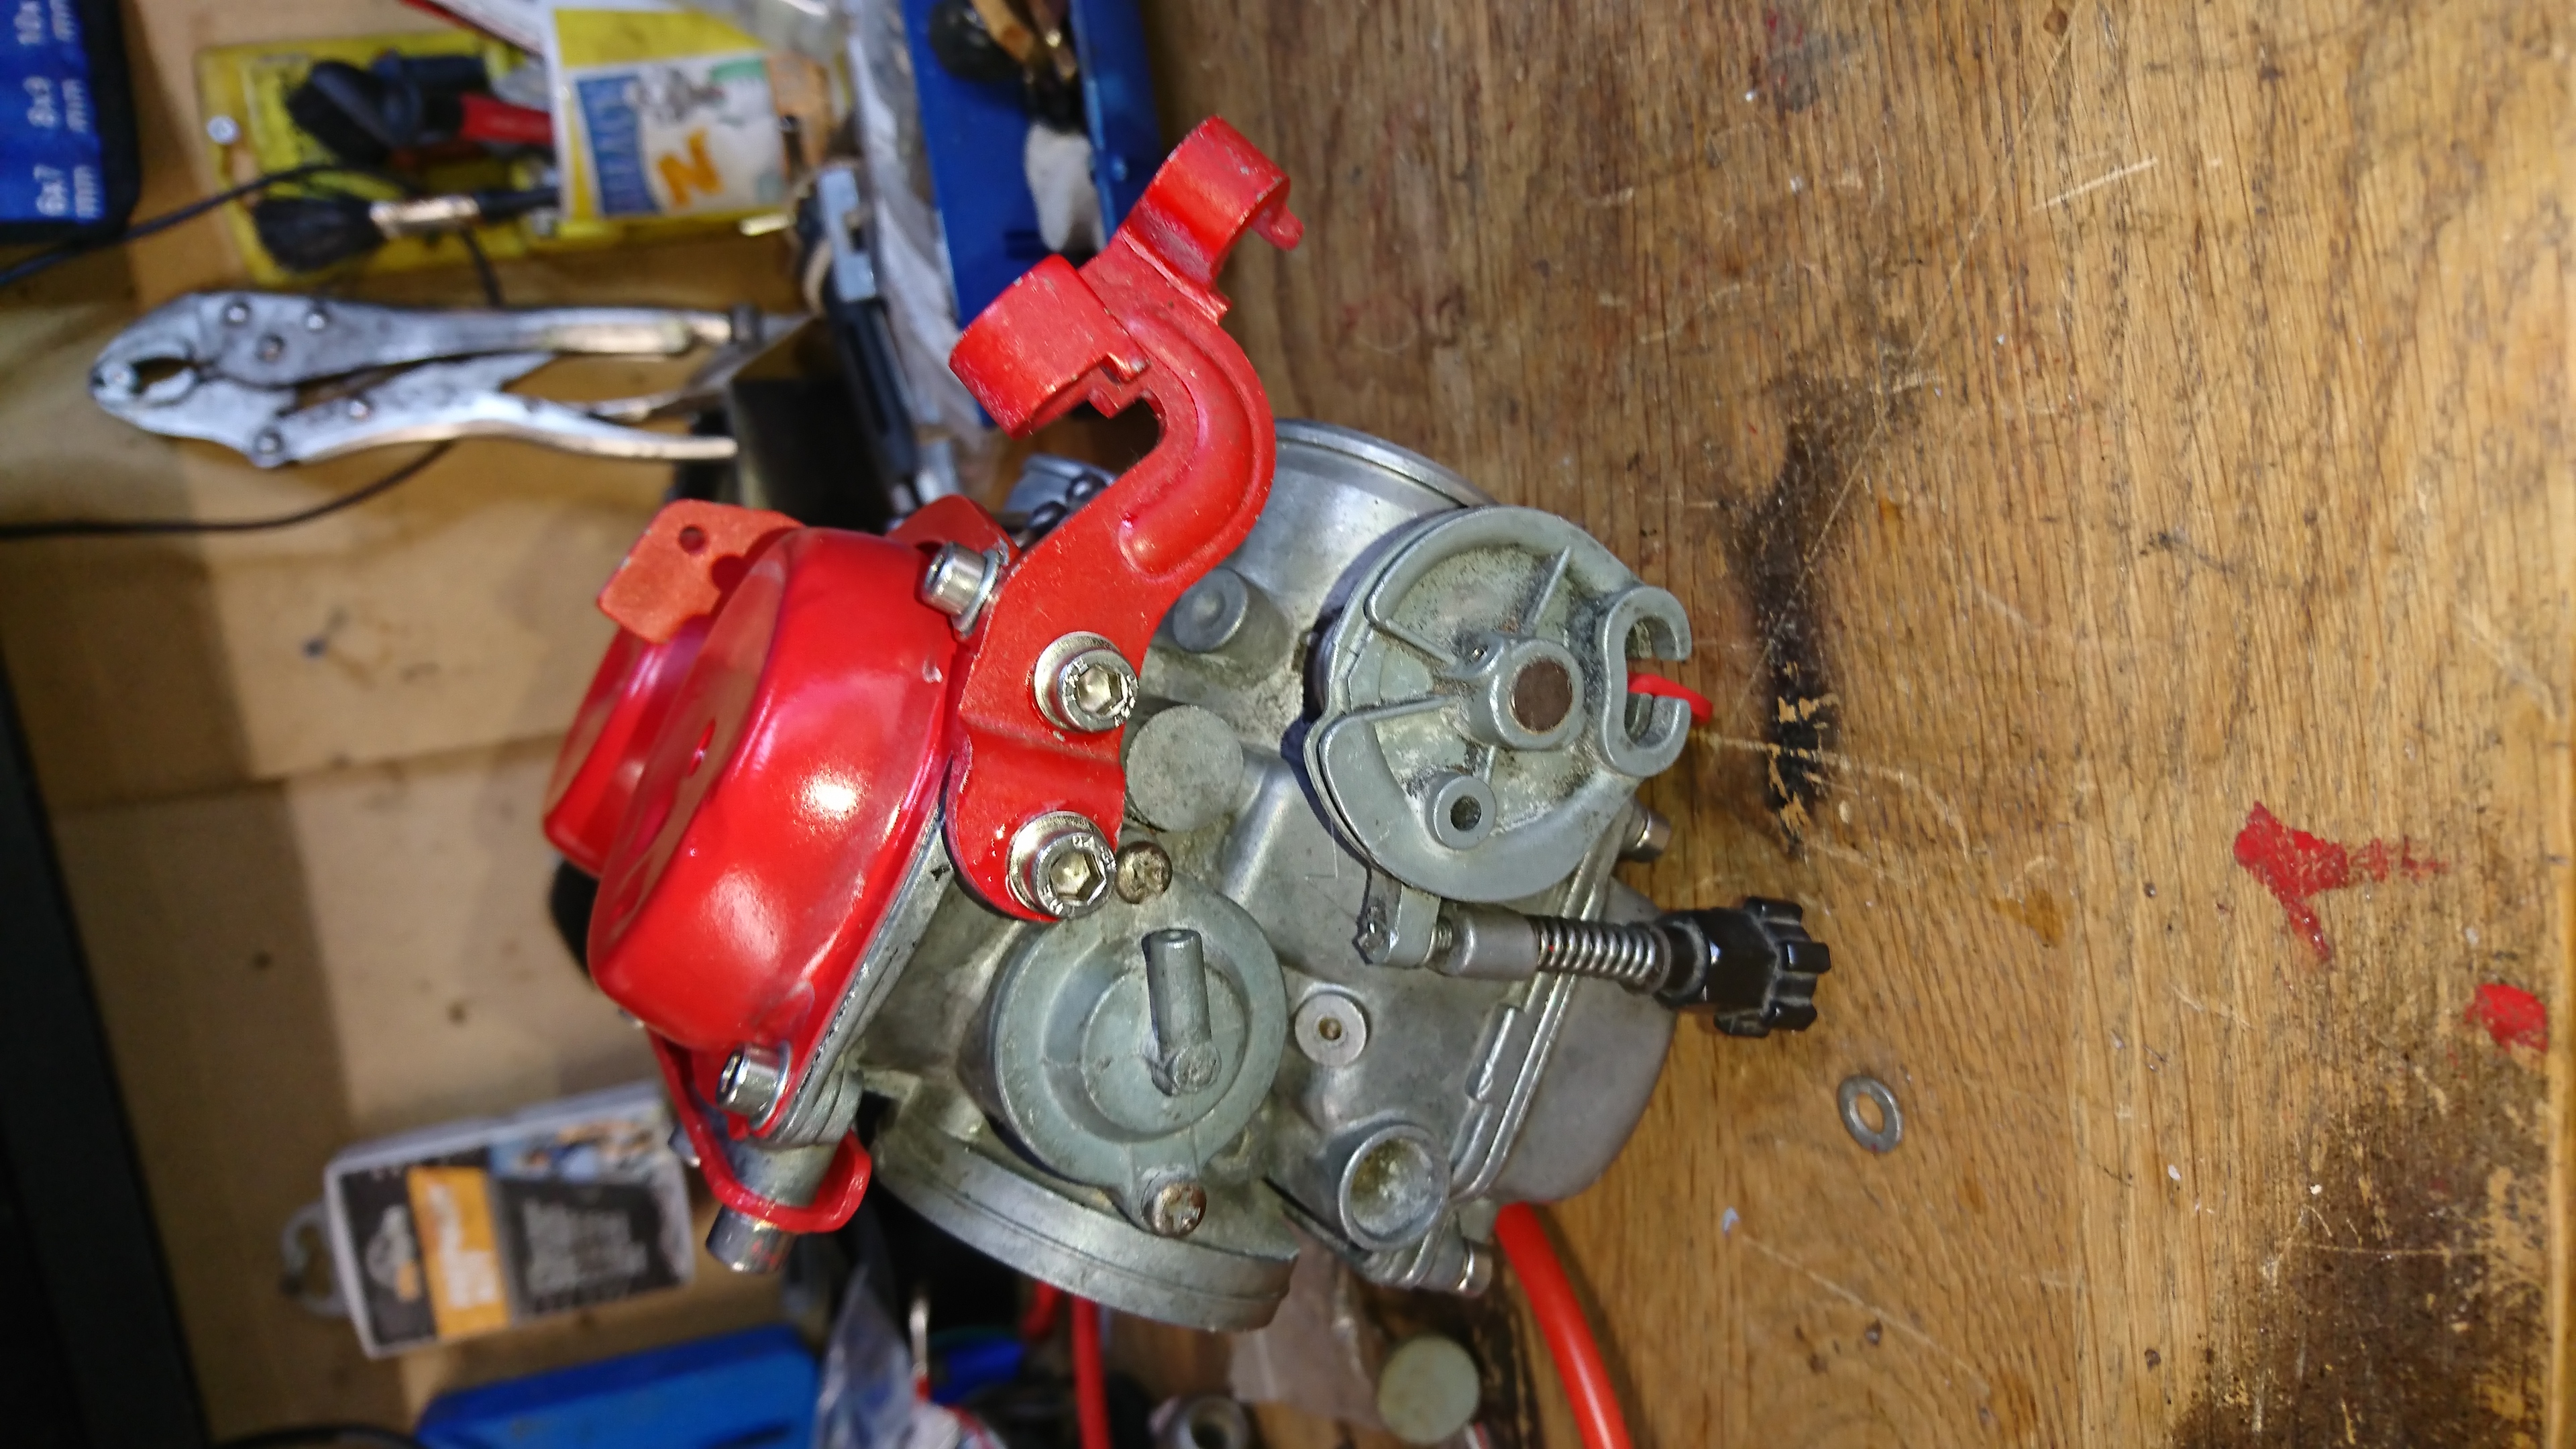
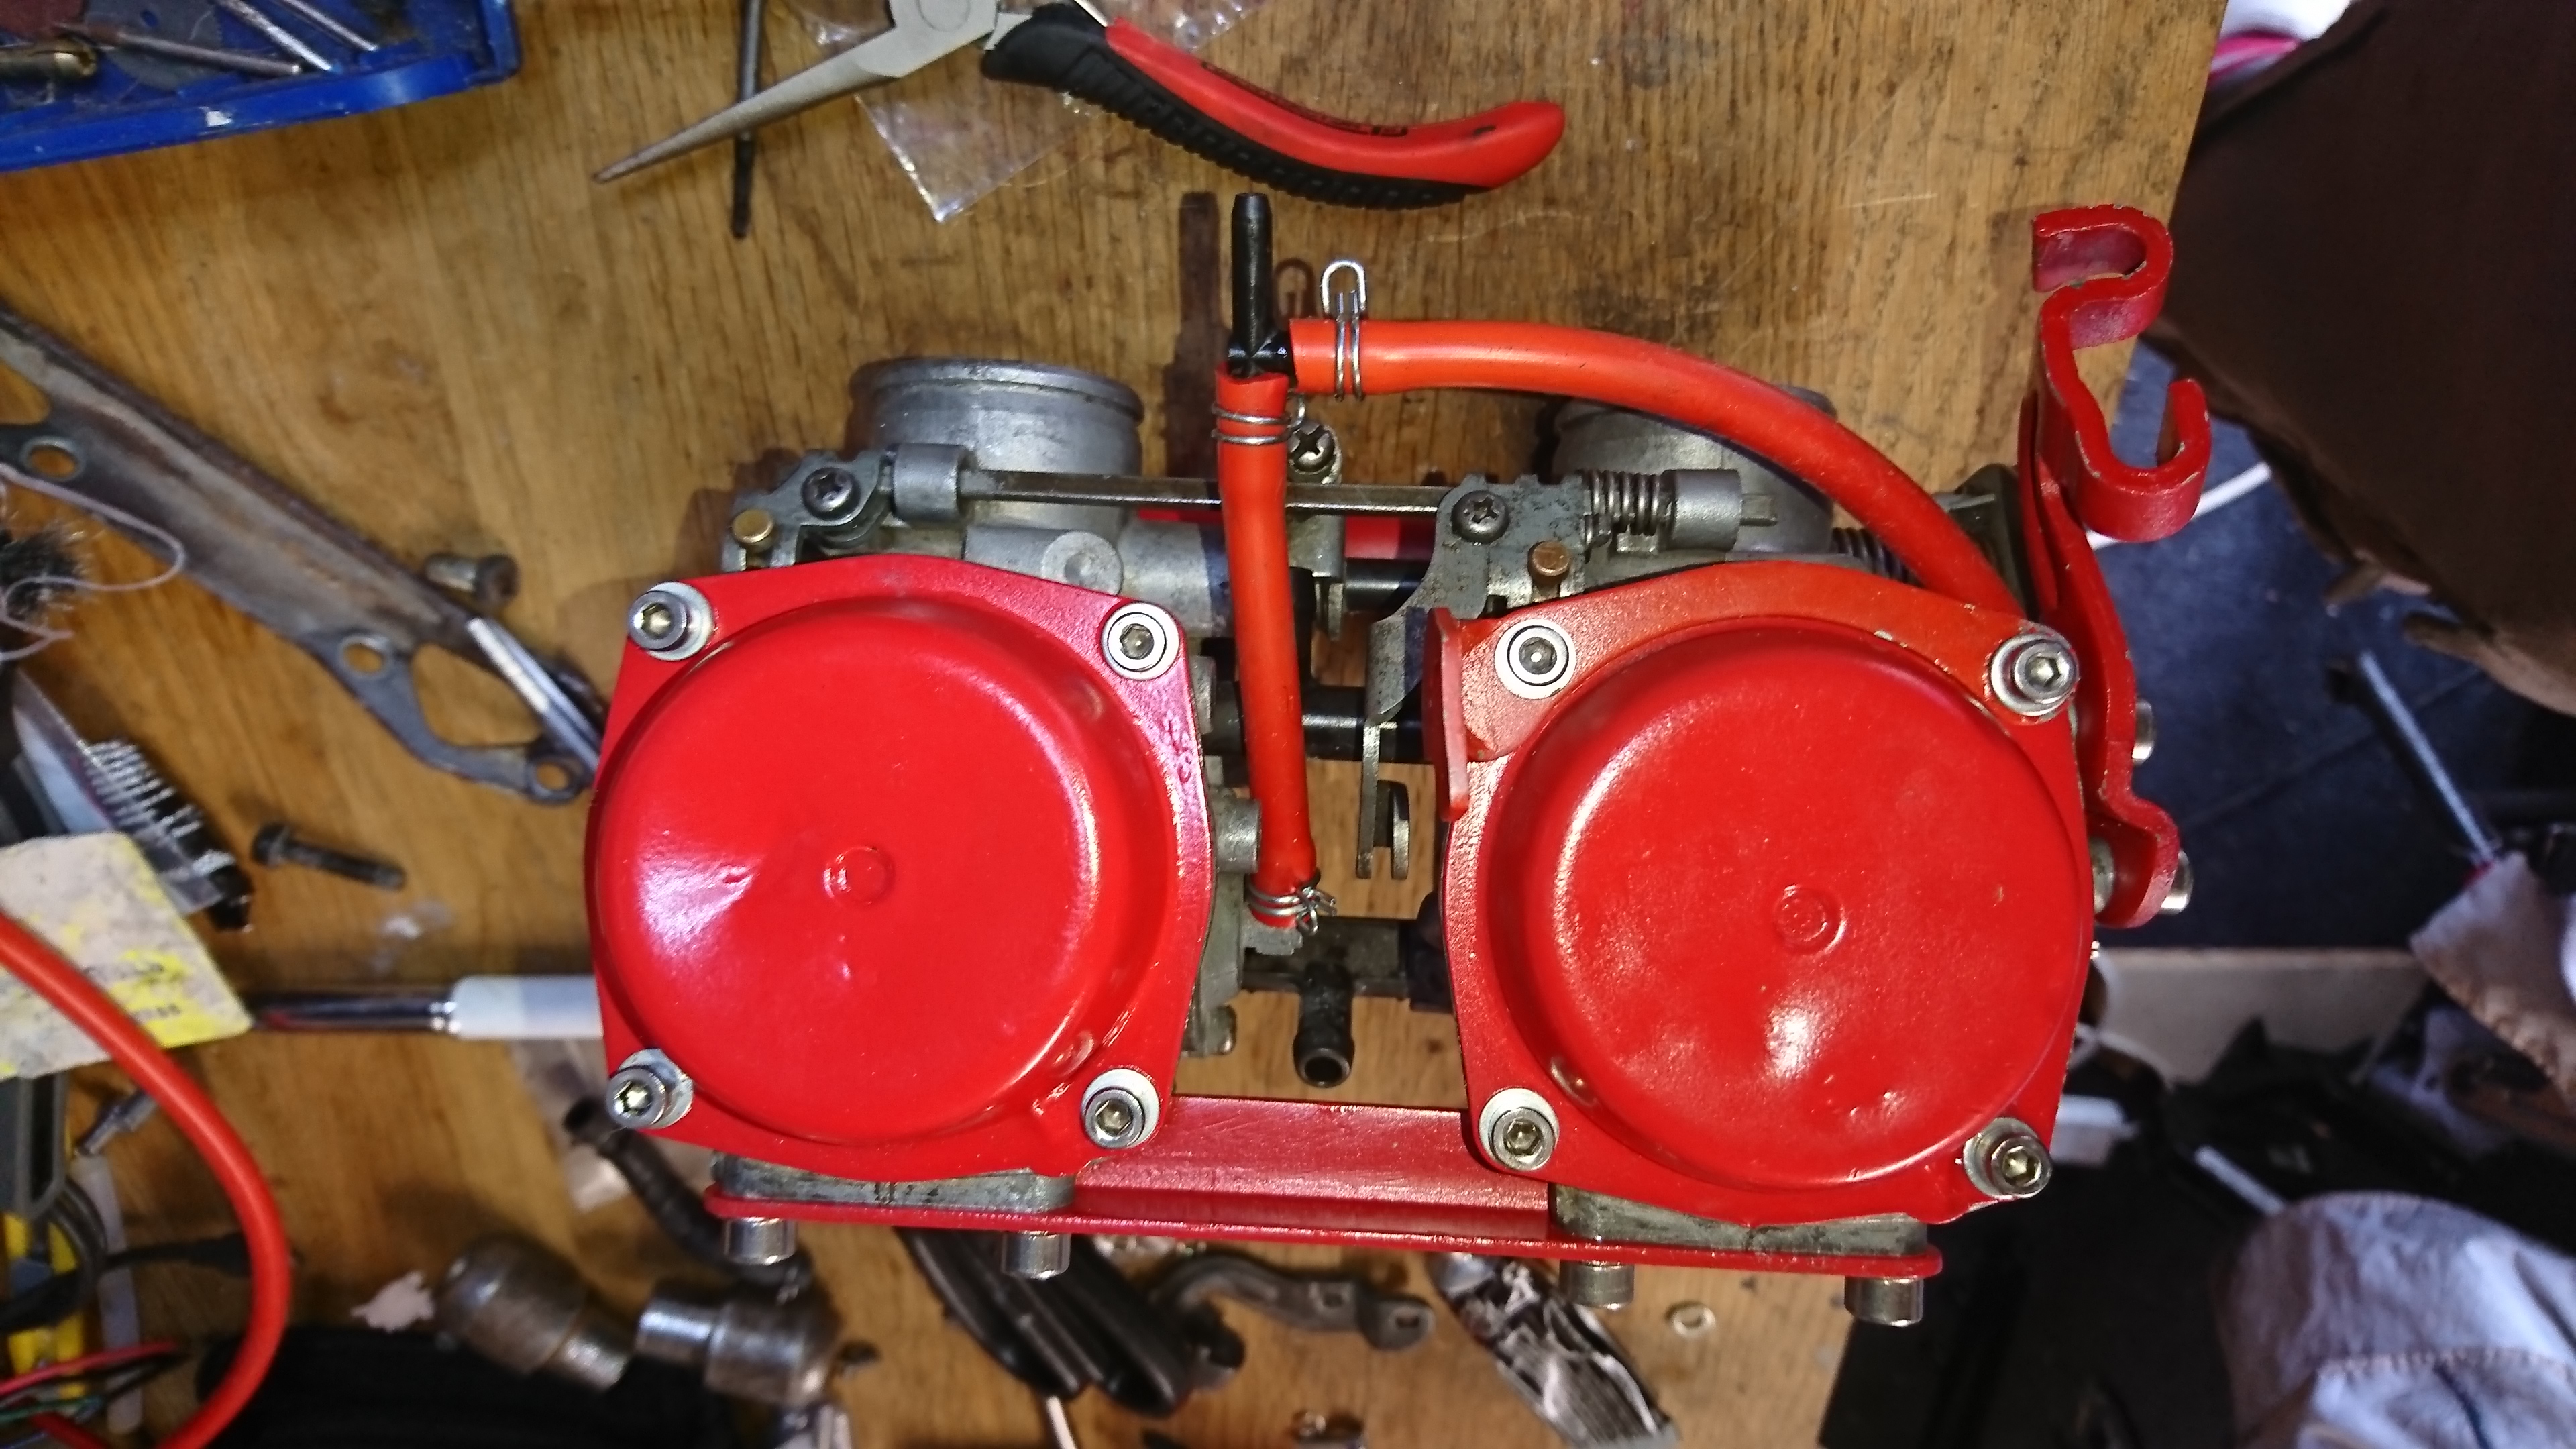
I painted the caps, top and bottom bracket, as well as the cable holder in the bright red paint, and swapped all of the bolts with stainless allen head sockets. 3mm vacuum tube was also purchased along with a couple of T piece connectors so I could connect the carbs up how they originally should have been. This is when I realised what the missing part from the engine was for! It was the vacuum take off for this.
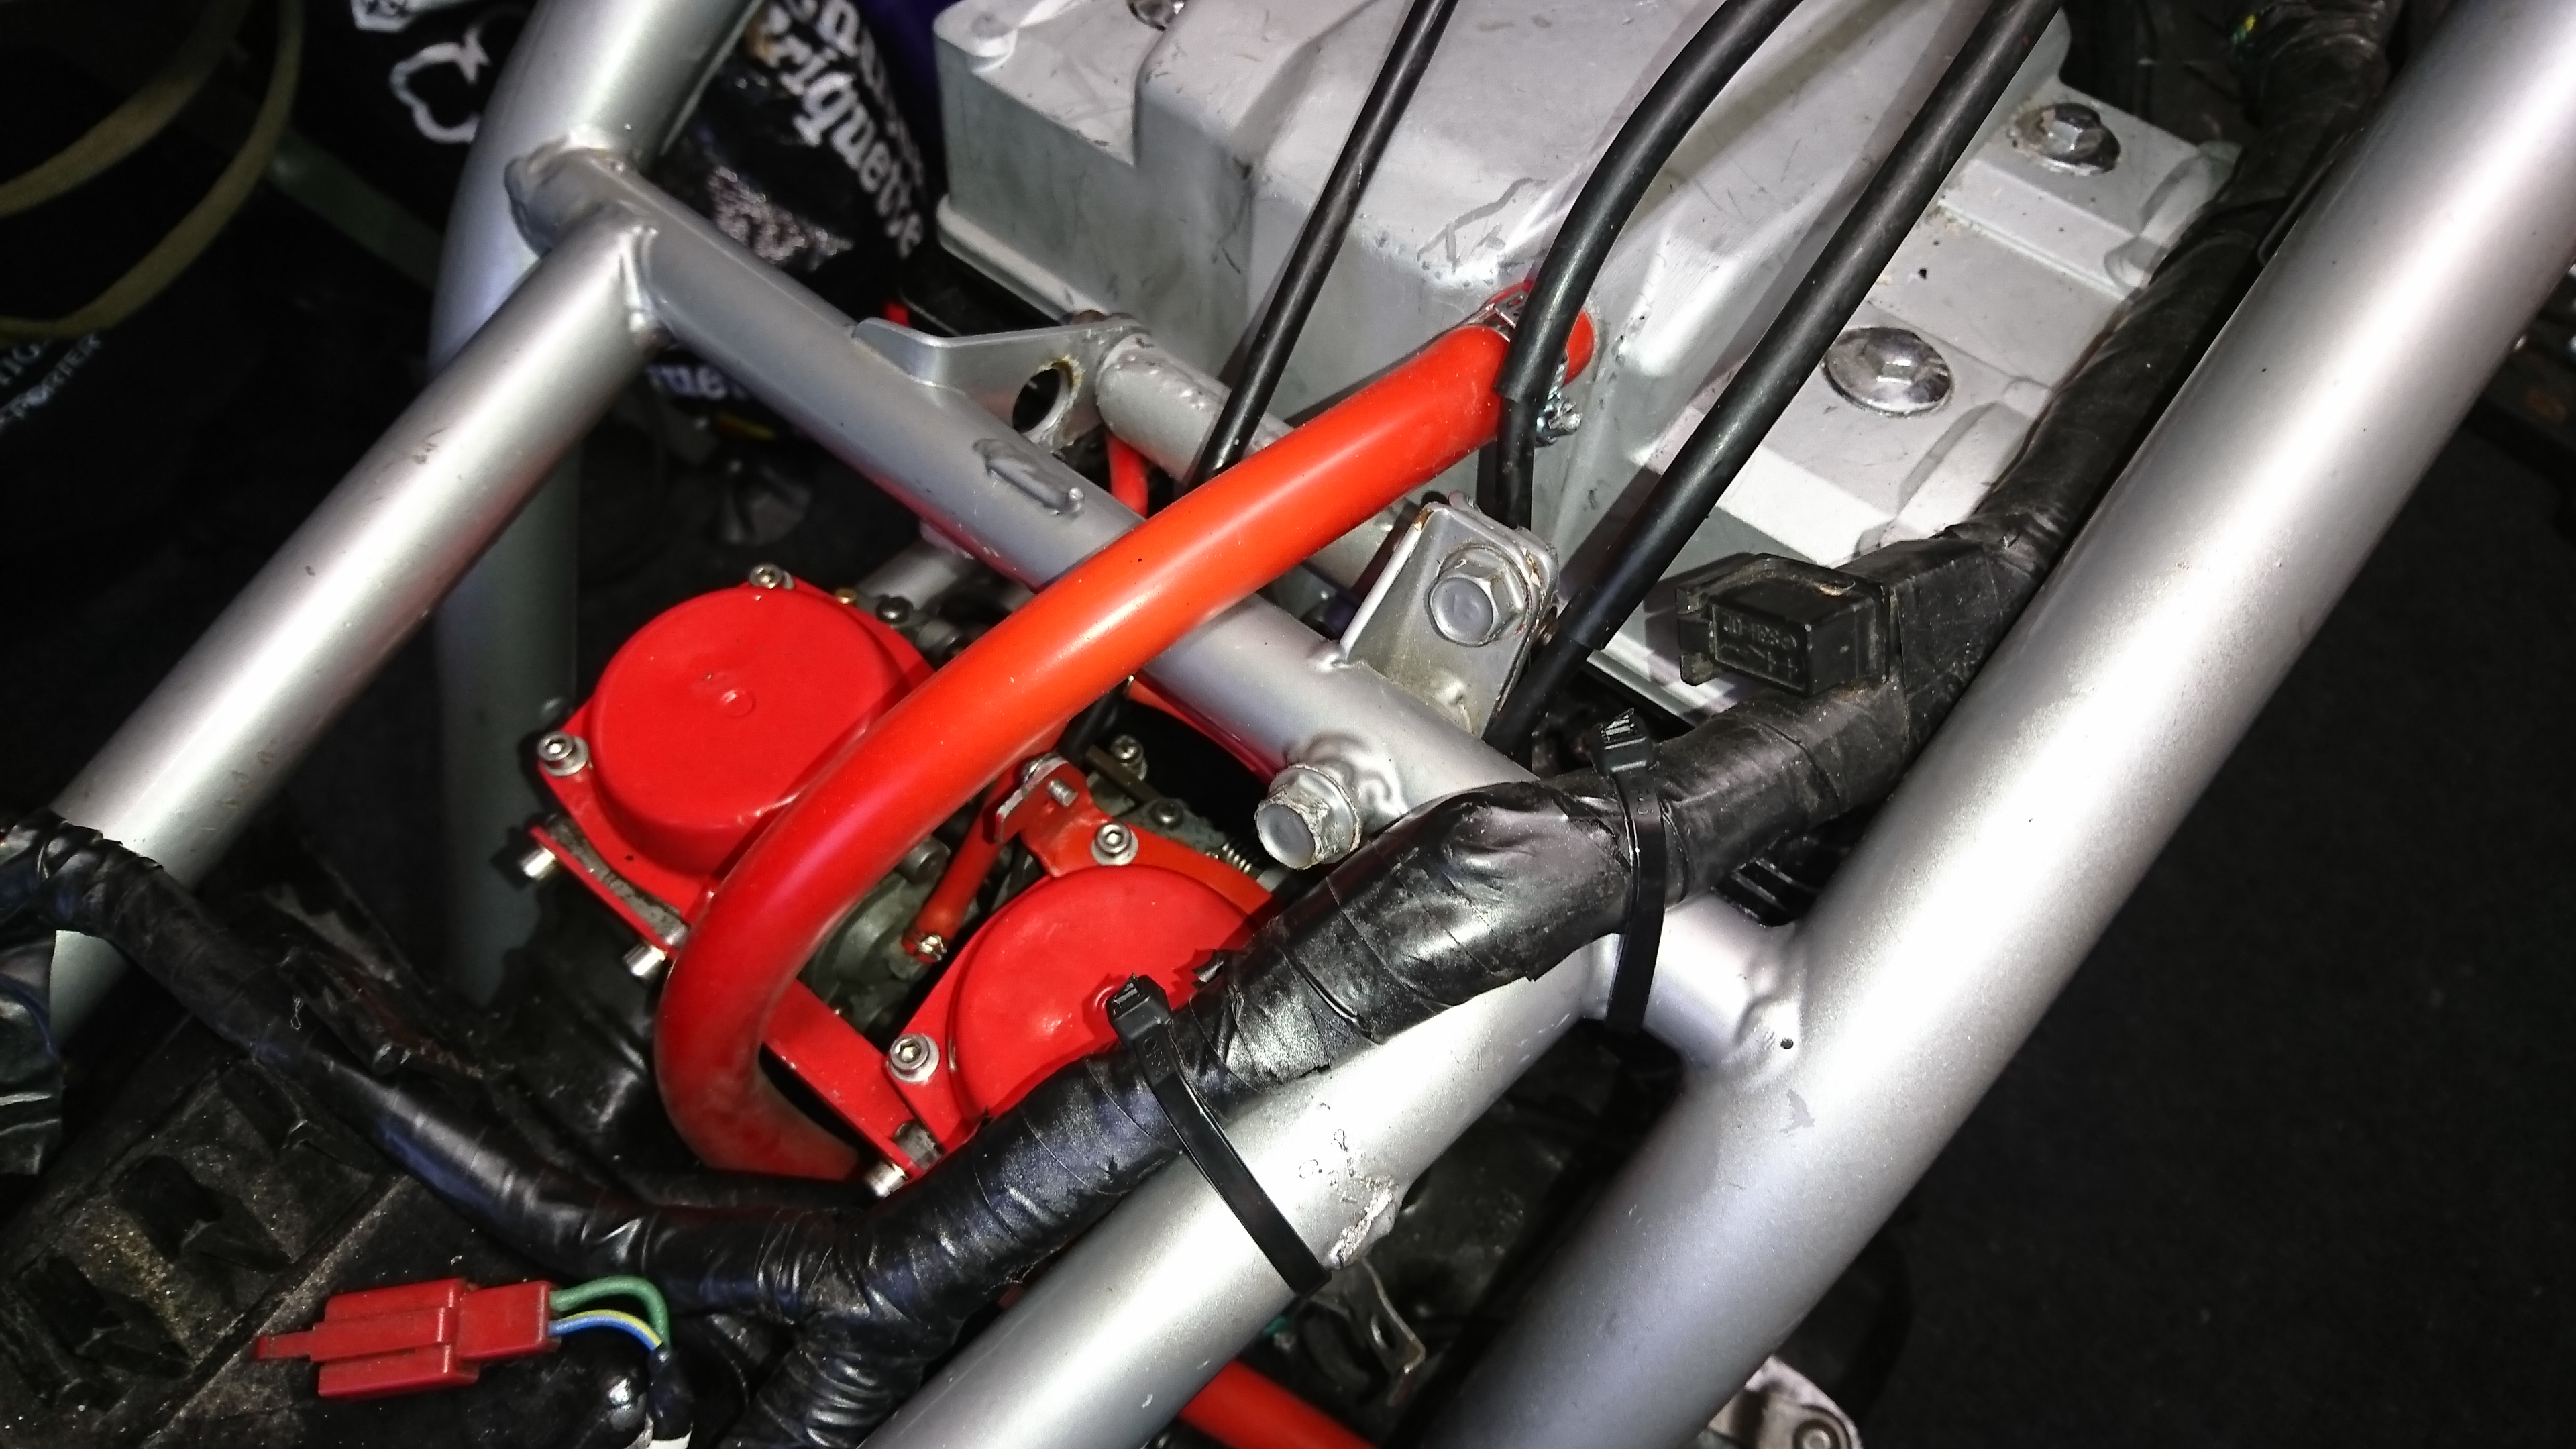
After some research and help from the web, I found that mig welding tips was the correct size and thickness and thus were duly ordered and installed upon arrival. The carbs were then mounted along with some new matching breather hose from the head.
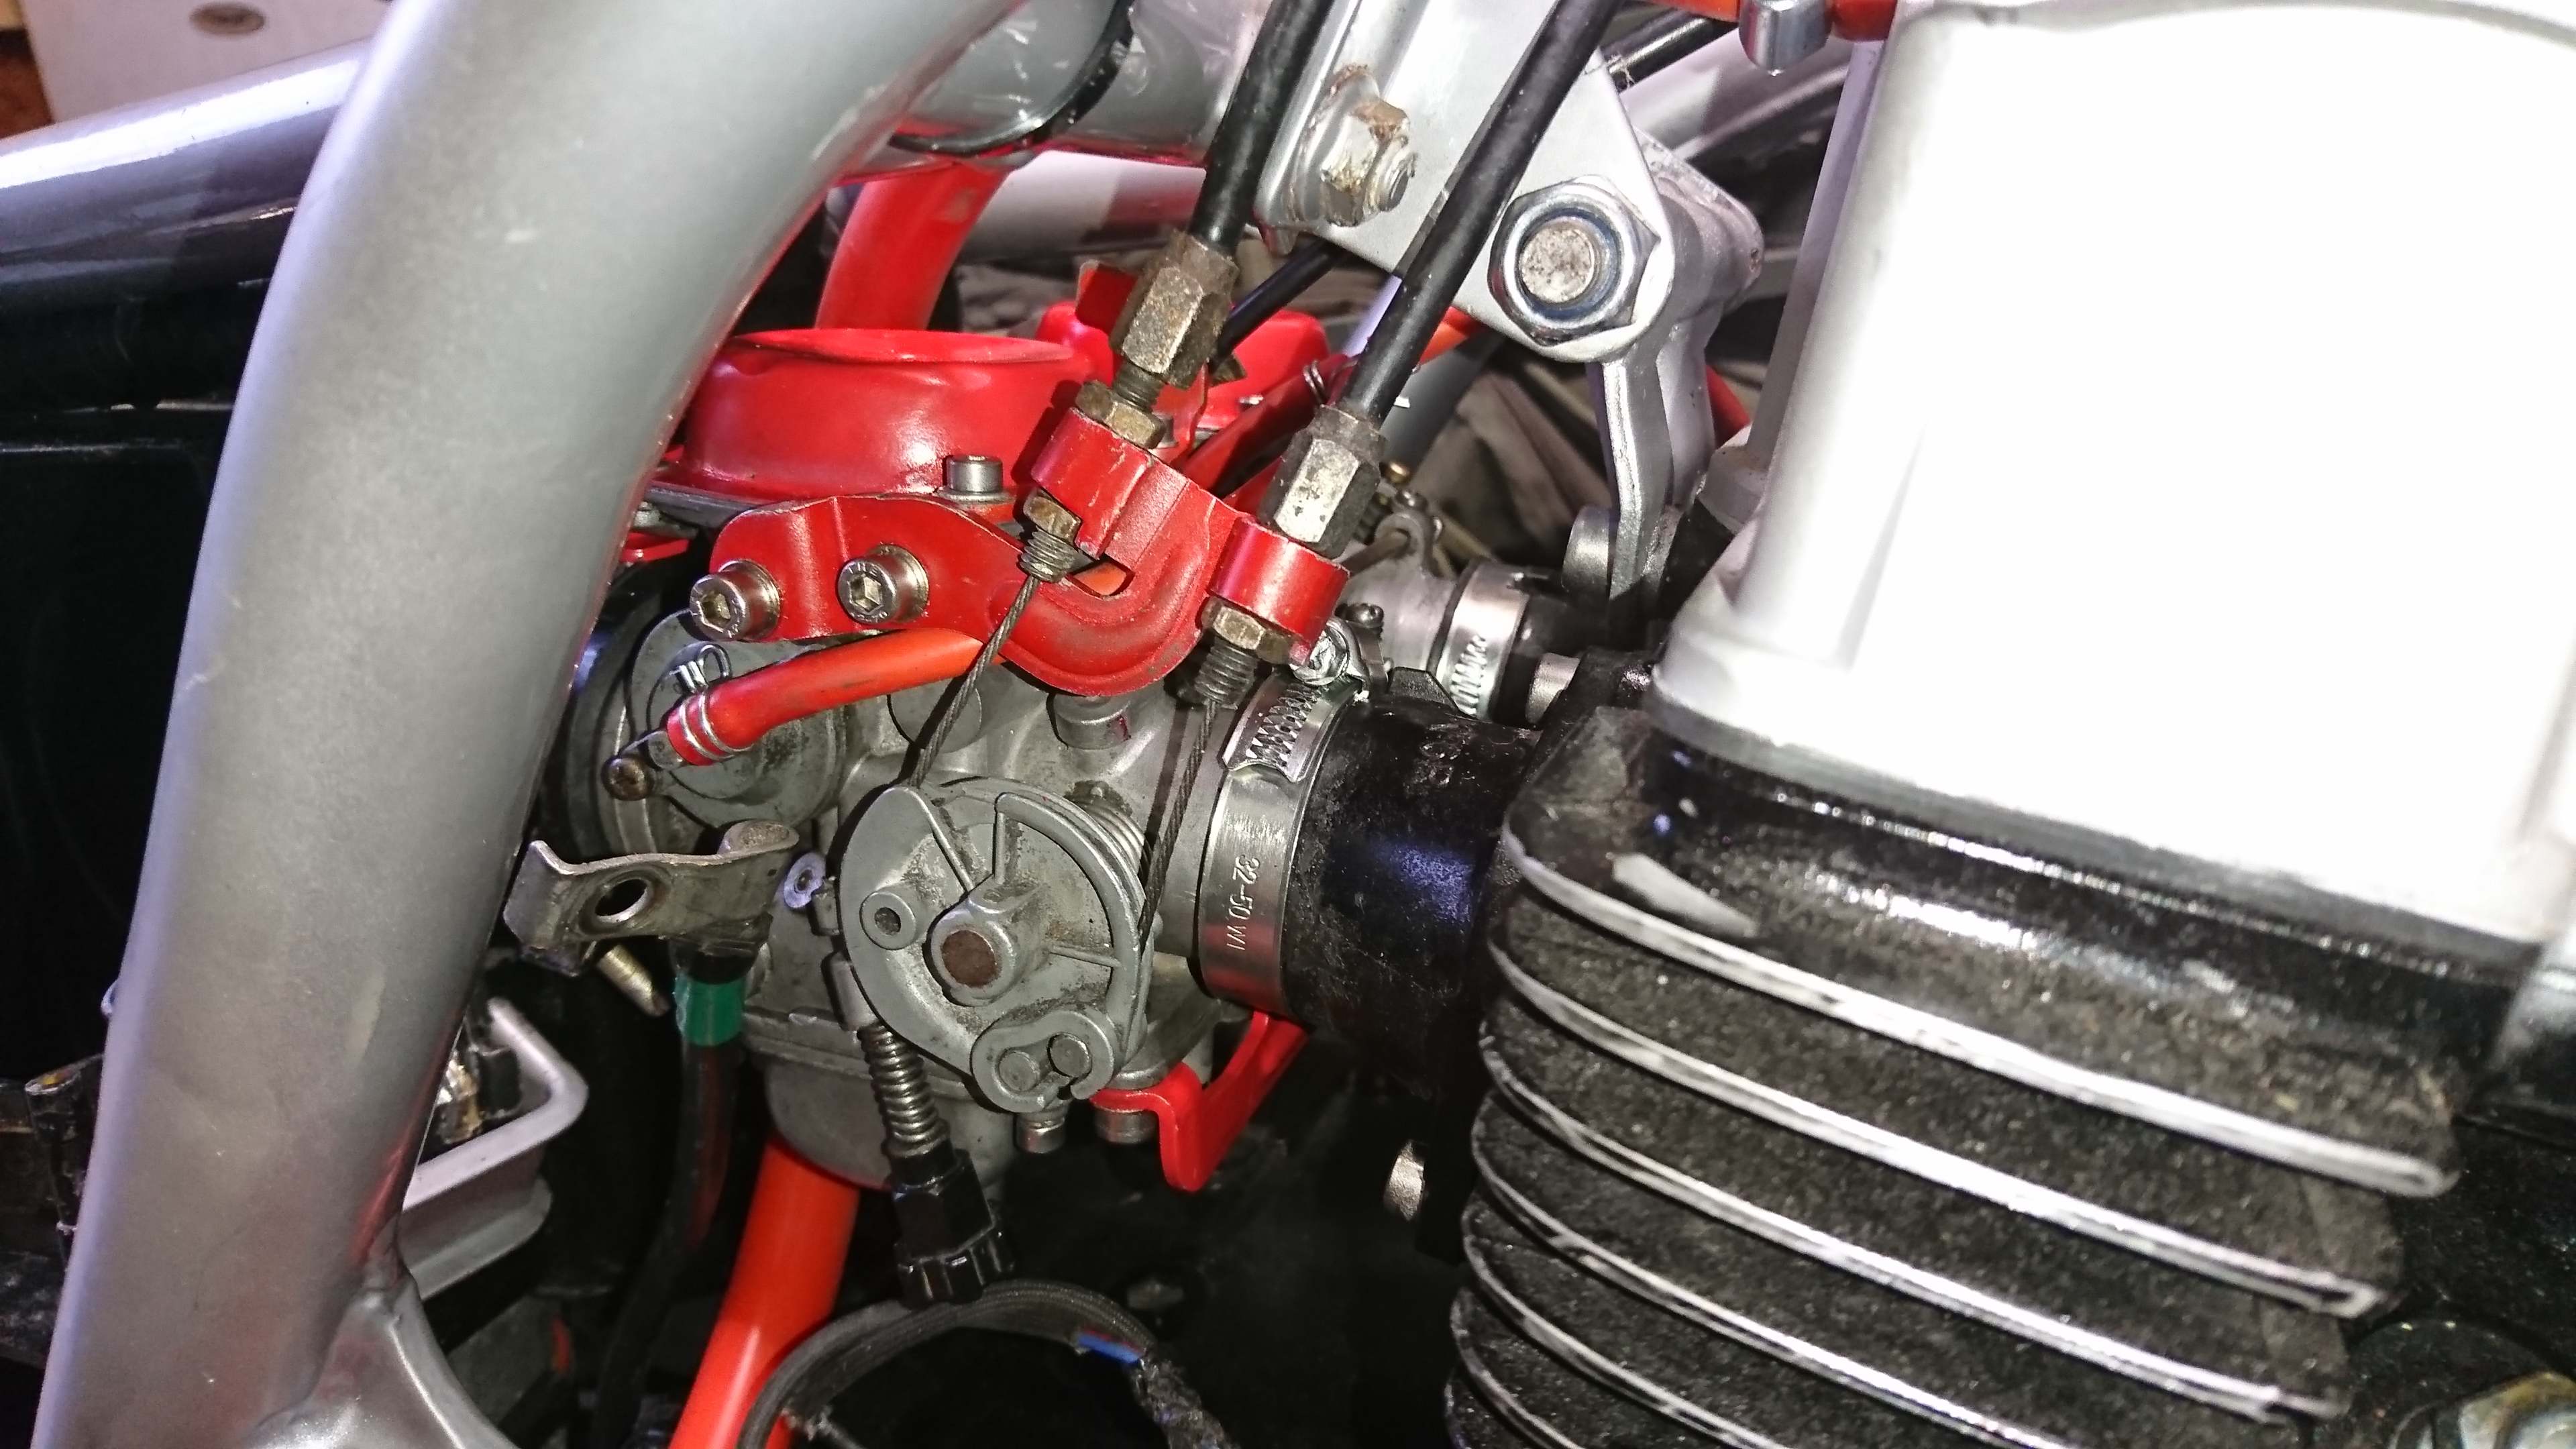
This was then where the swearing came back! it took 3 of us to get the carbs in place and to get the airbox in place. Even then the rear mounts would not line up and the air cleaner boots would not stay in place.
Trying to find a new airbox rubber for a bike that was made over 30 years ago and for only 3 years is pretty much impossible. Therefore a new method was required to make this work. After some long research, this was resolved, you can see here for the full tutorial.
More Bodywork
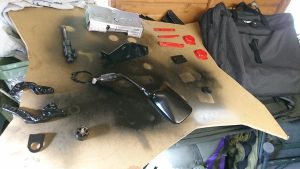
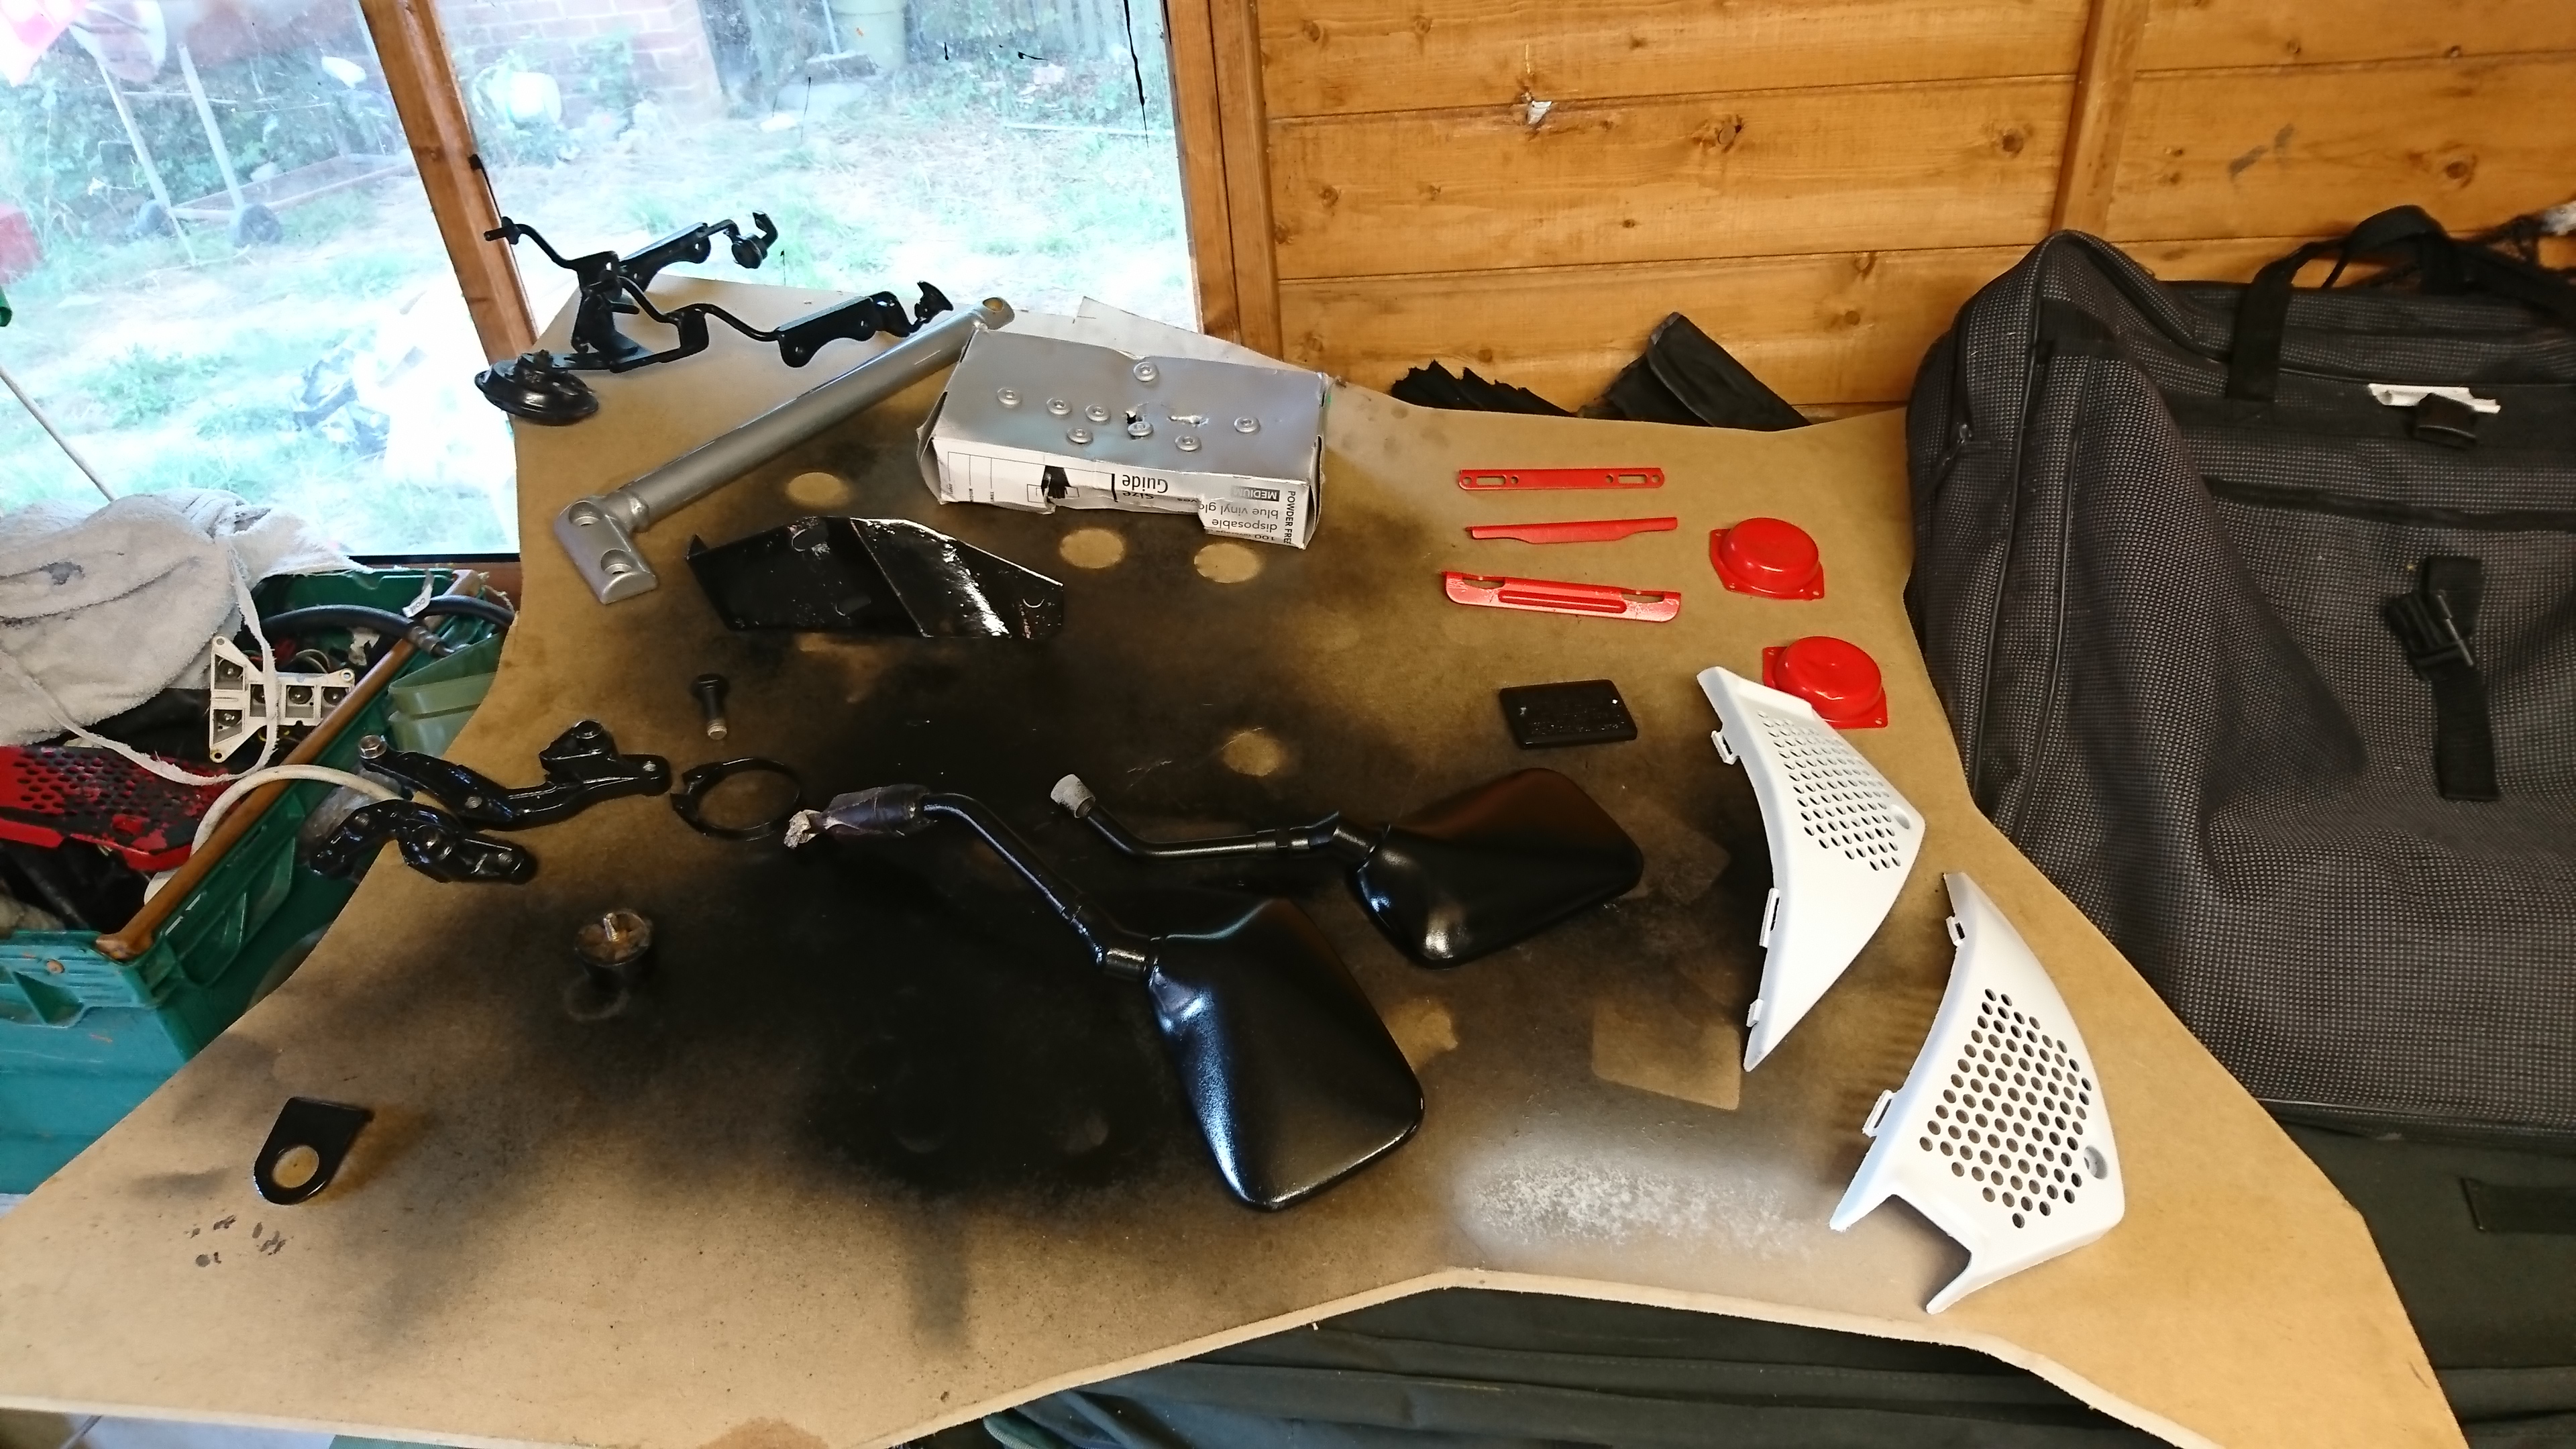
The caliper mounts were removed and resprayed again and the cable guide was painted white to match the contrasting colour scheme. The mirrors were masked and painted, exhaust bracket and the other black items that needed touching up after being left for a while. The side panels were primed and painted white and then added back to the frame.
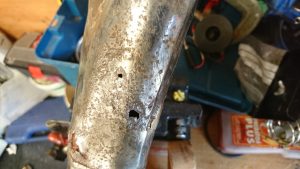
Between all of this, the brakes and other tasks on the bike I notice the silencer for the bike was pitted and had a few holes. After being let down by multiple offers to weld this up I purchased some hi temperature liquid steel and patch it up myself.
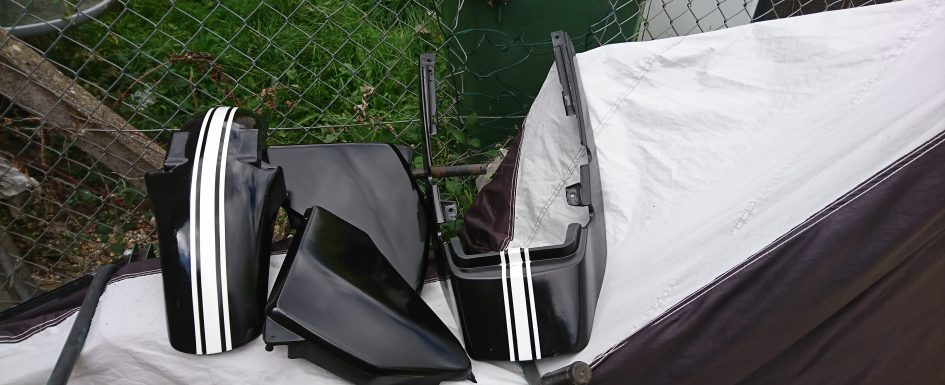
Panels
The panels needed to be repaired and finished, so a visit to Rainbow Paints to purchase some more Cellouse paint to touch it up. This was done but not to a high standard as I no longer had spraying gear or compressor, so I had to repair using rattle cans. This will be redone next summer when I can flatten it all backdown and start again from scratch.
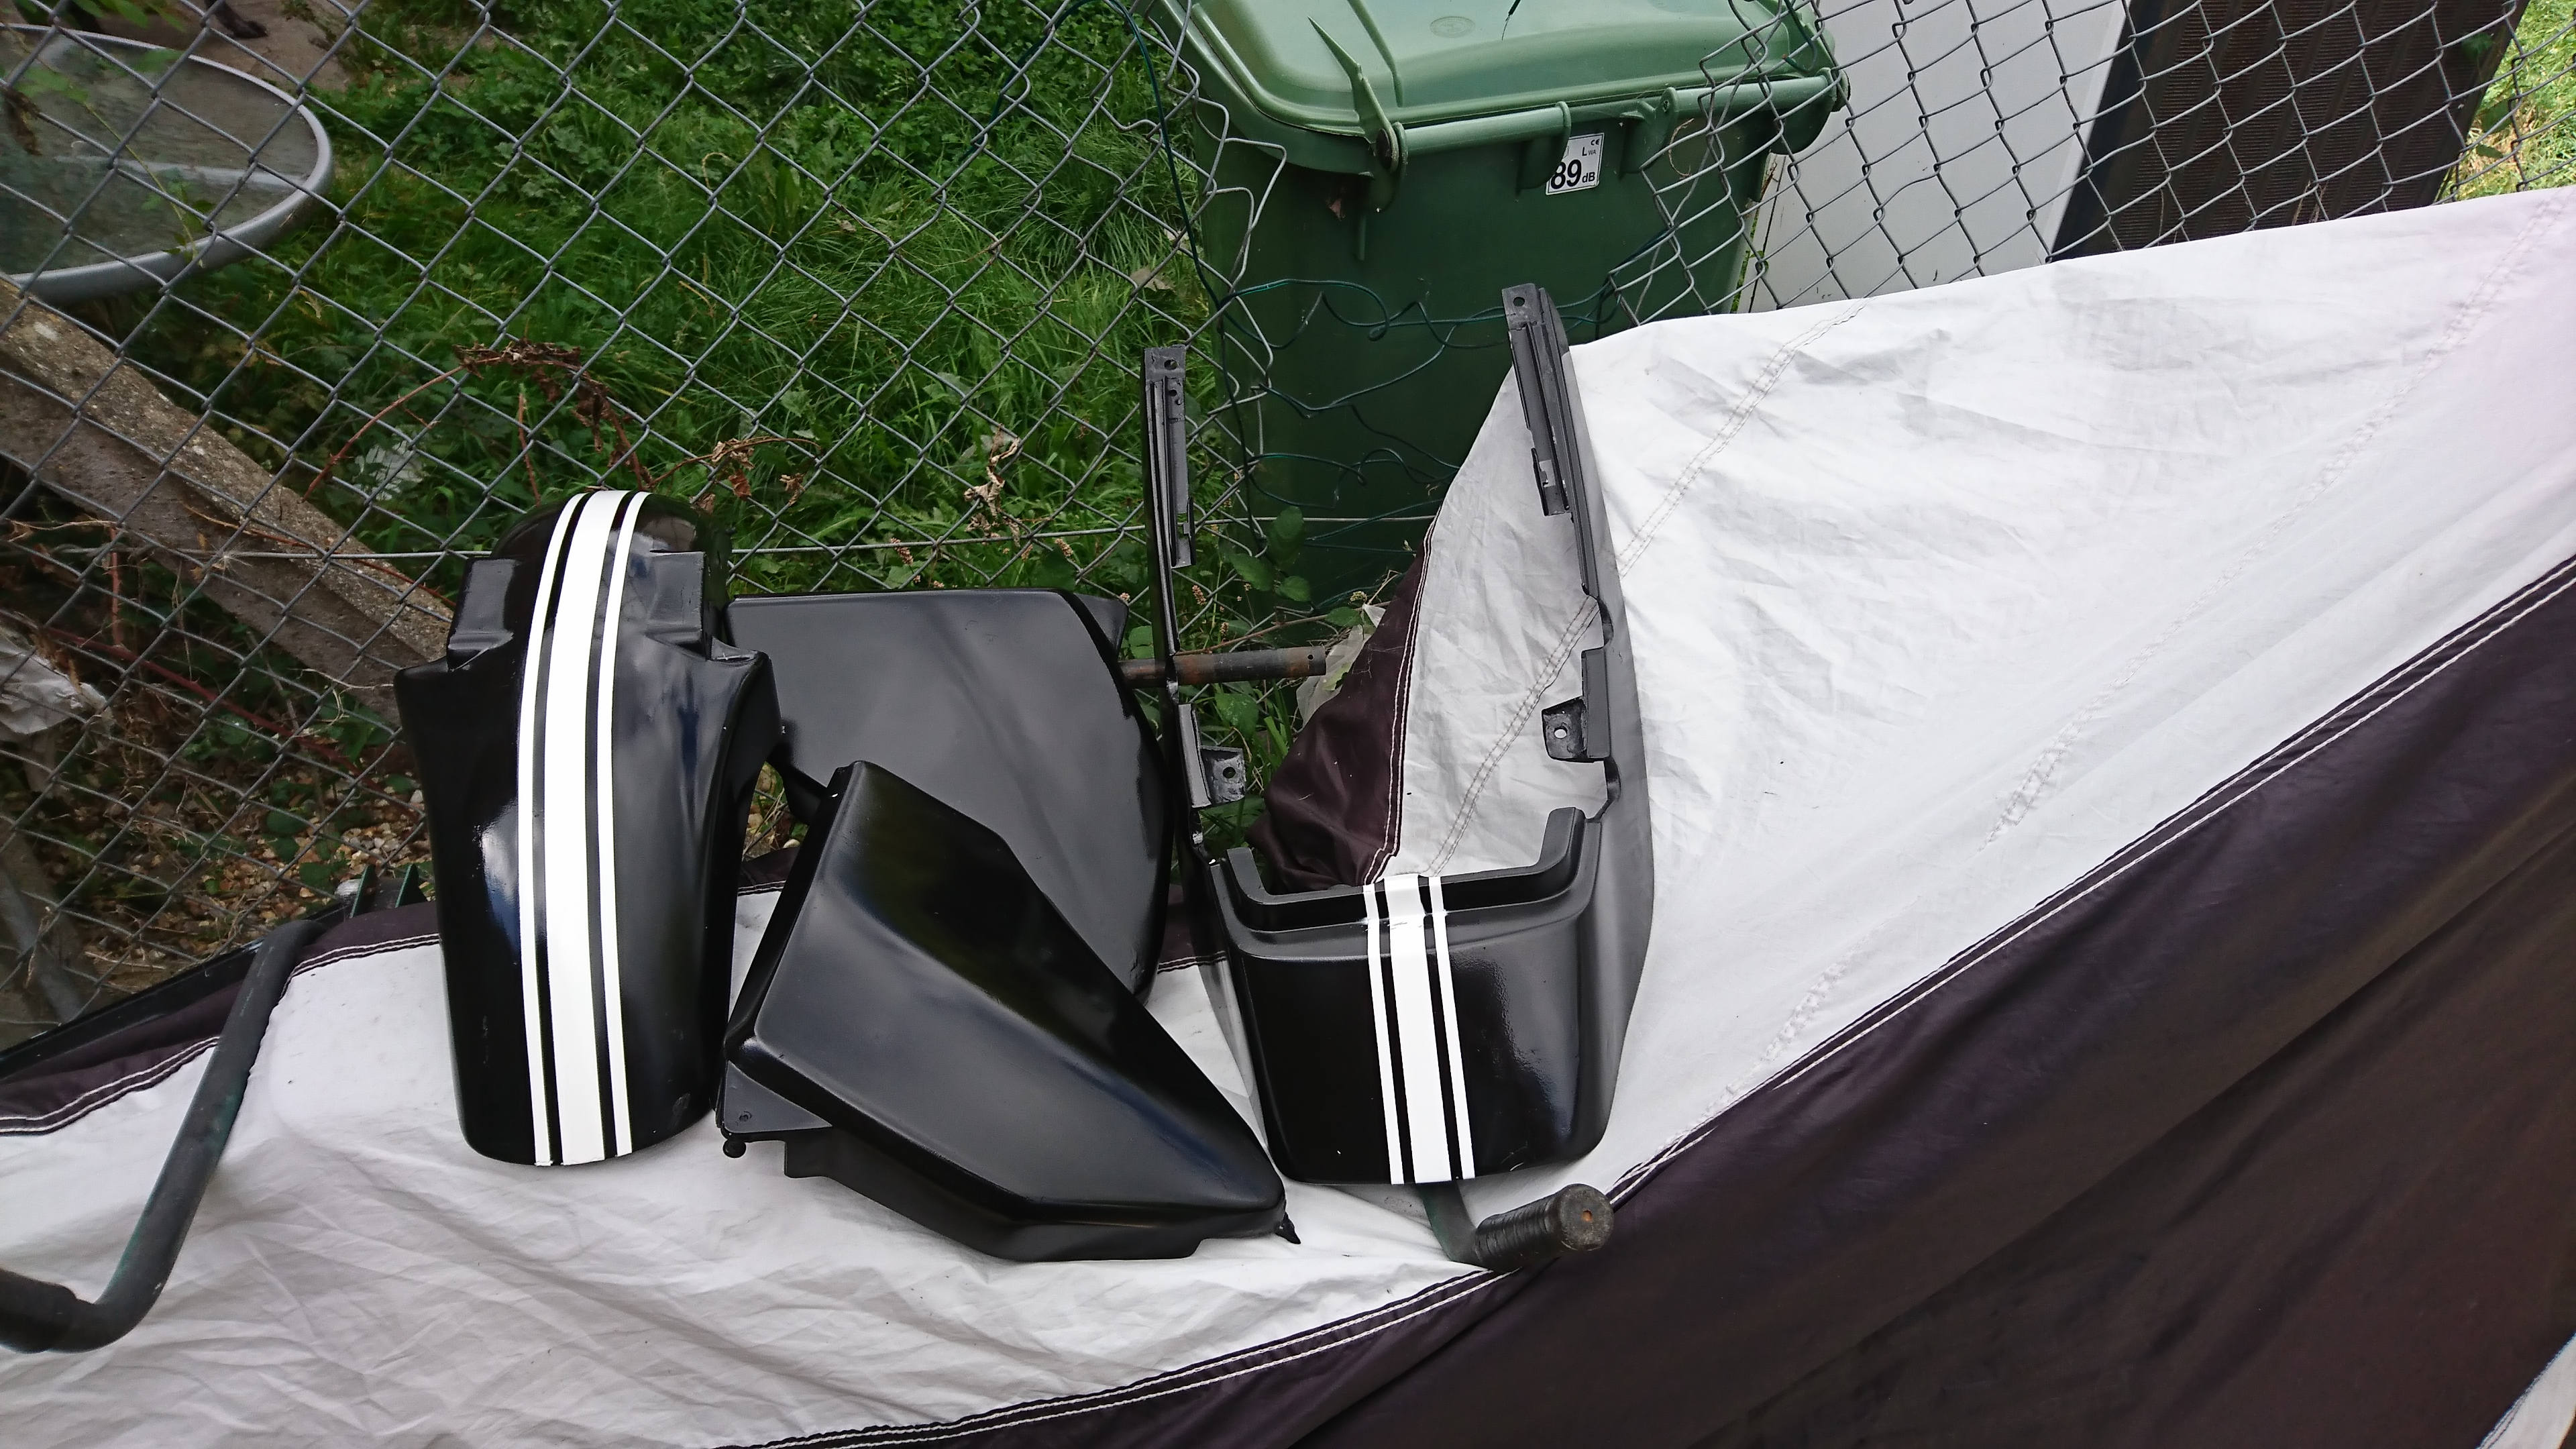
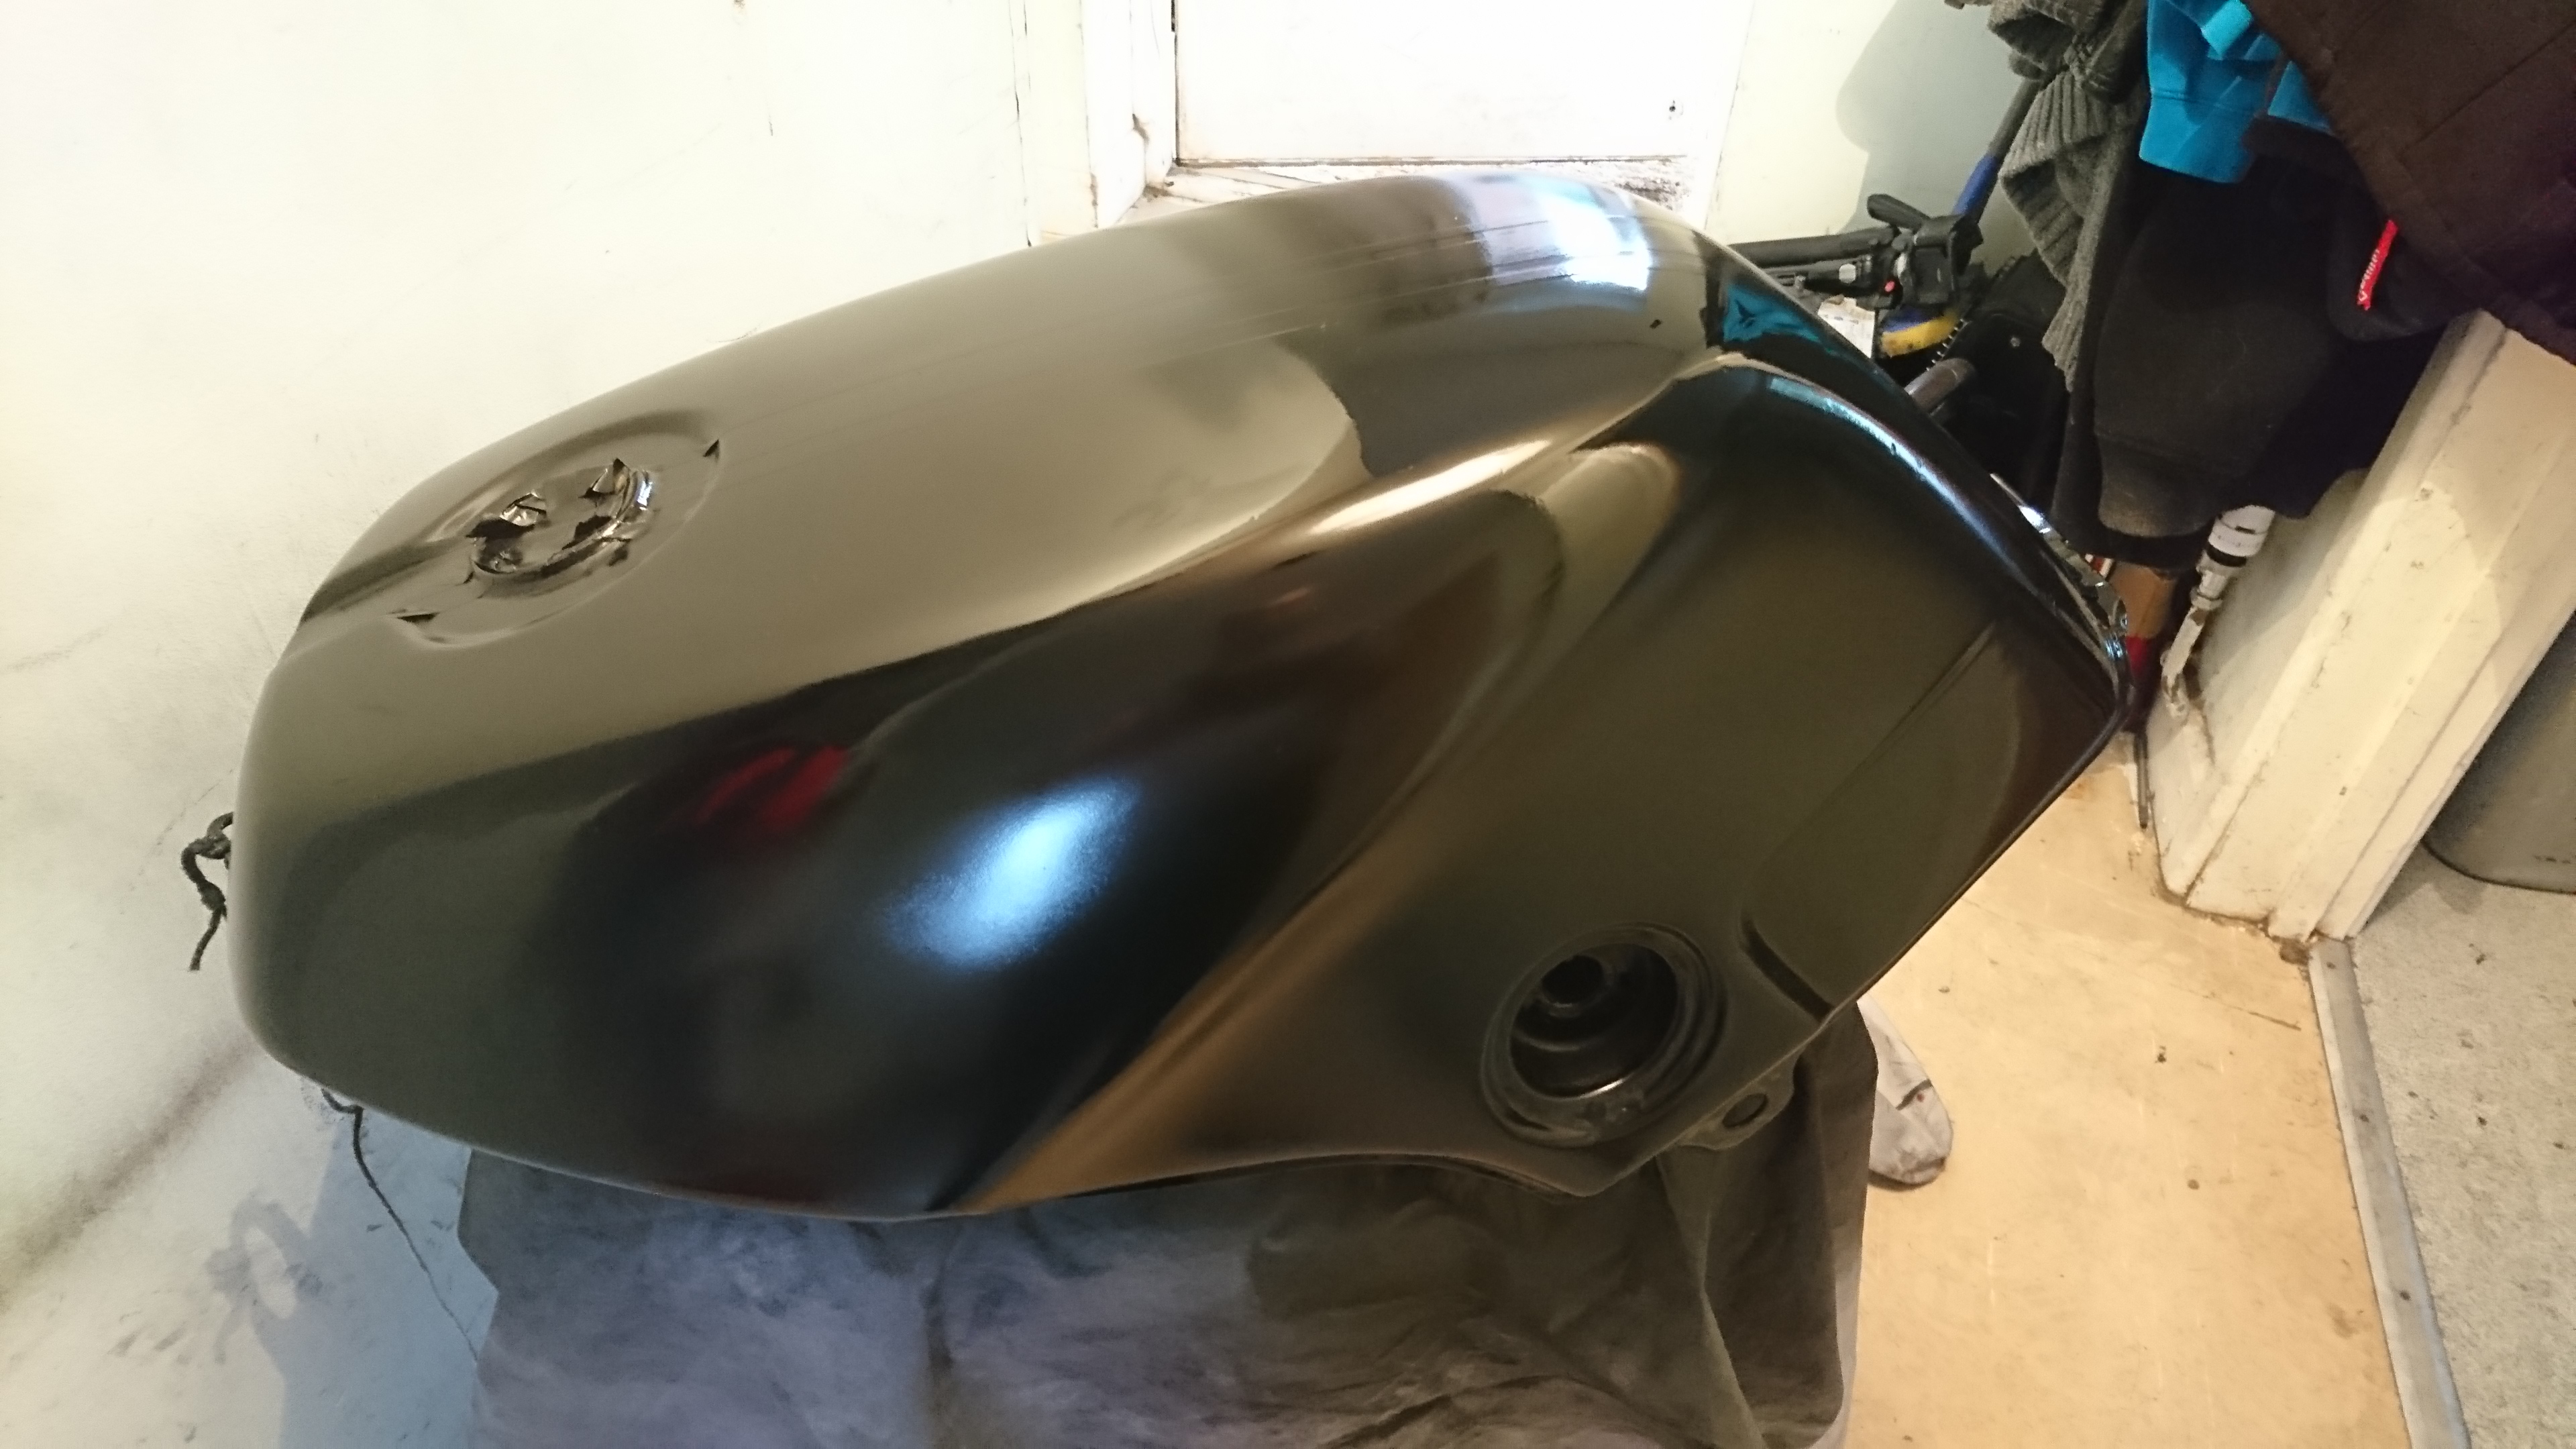
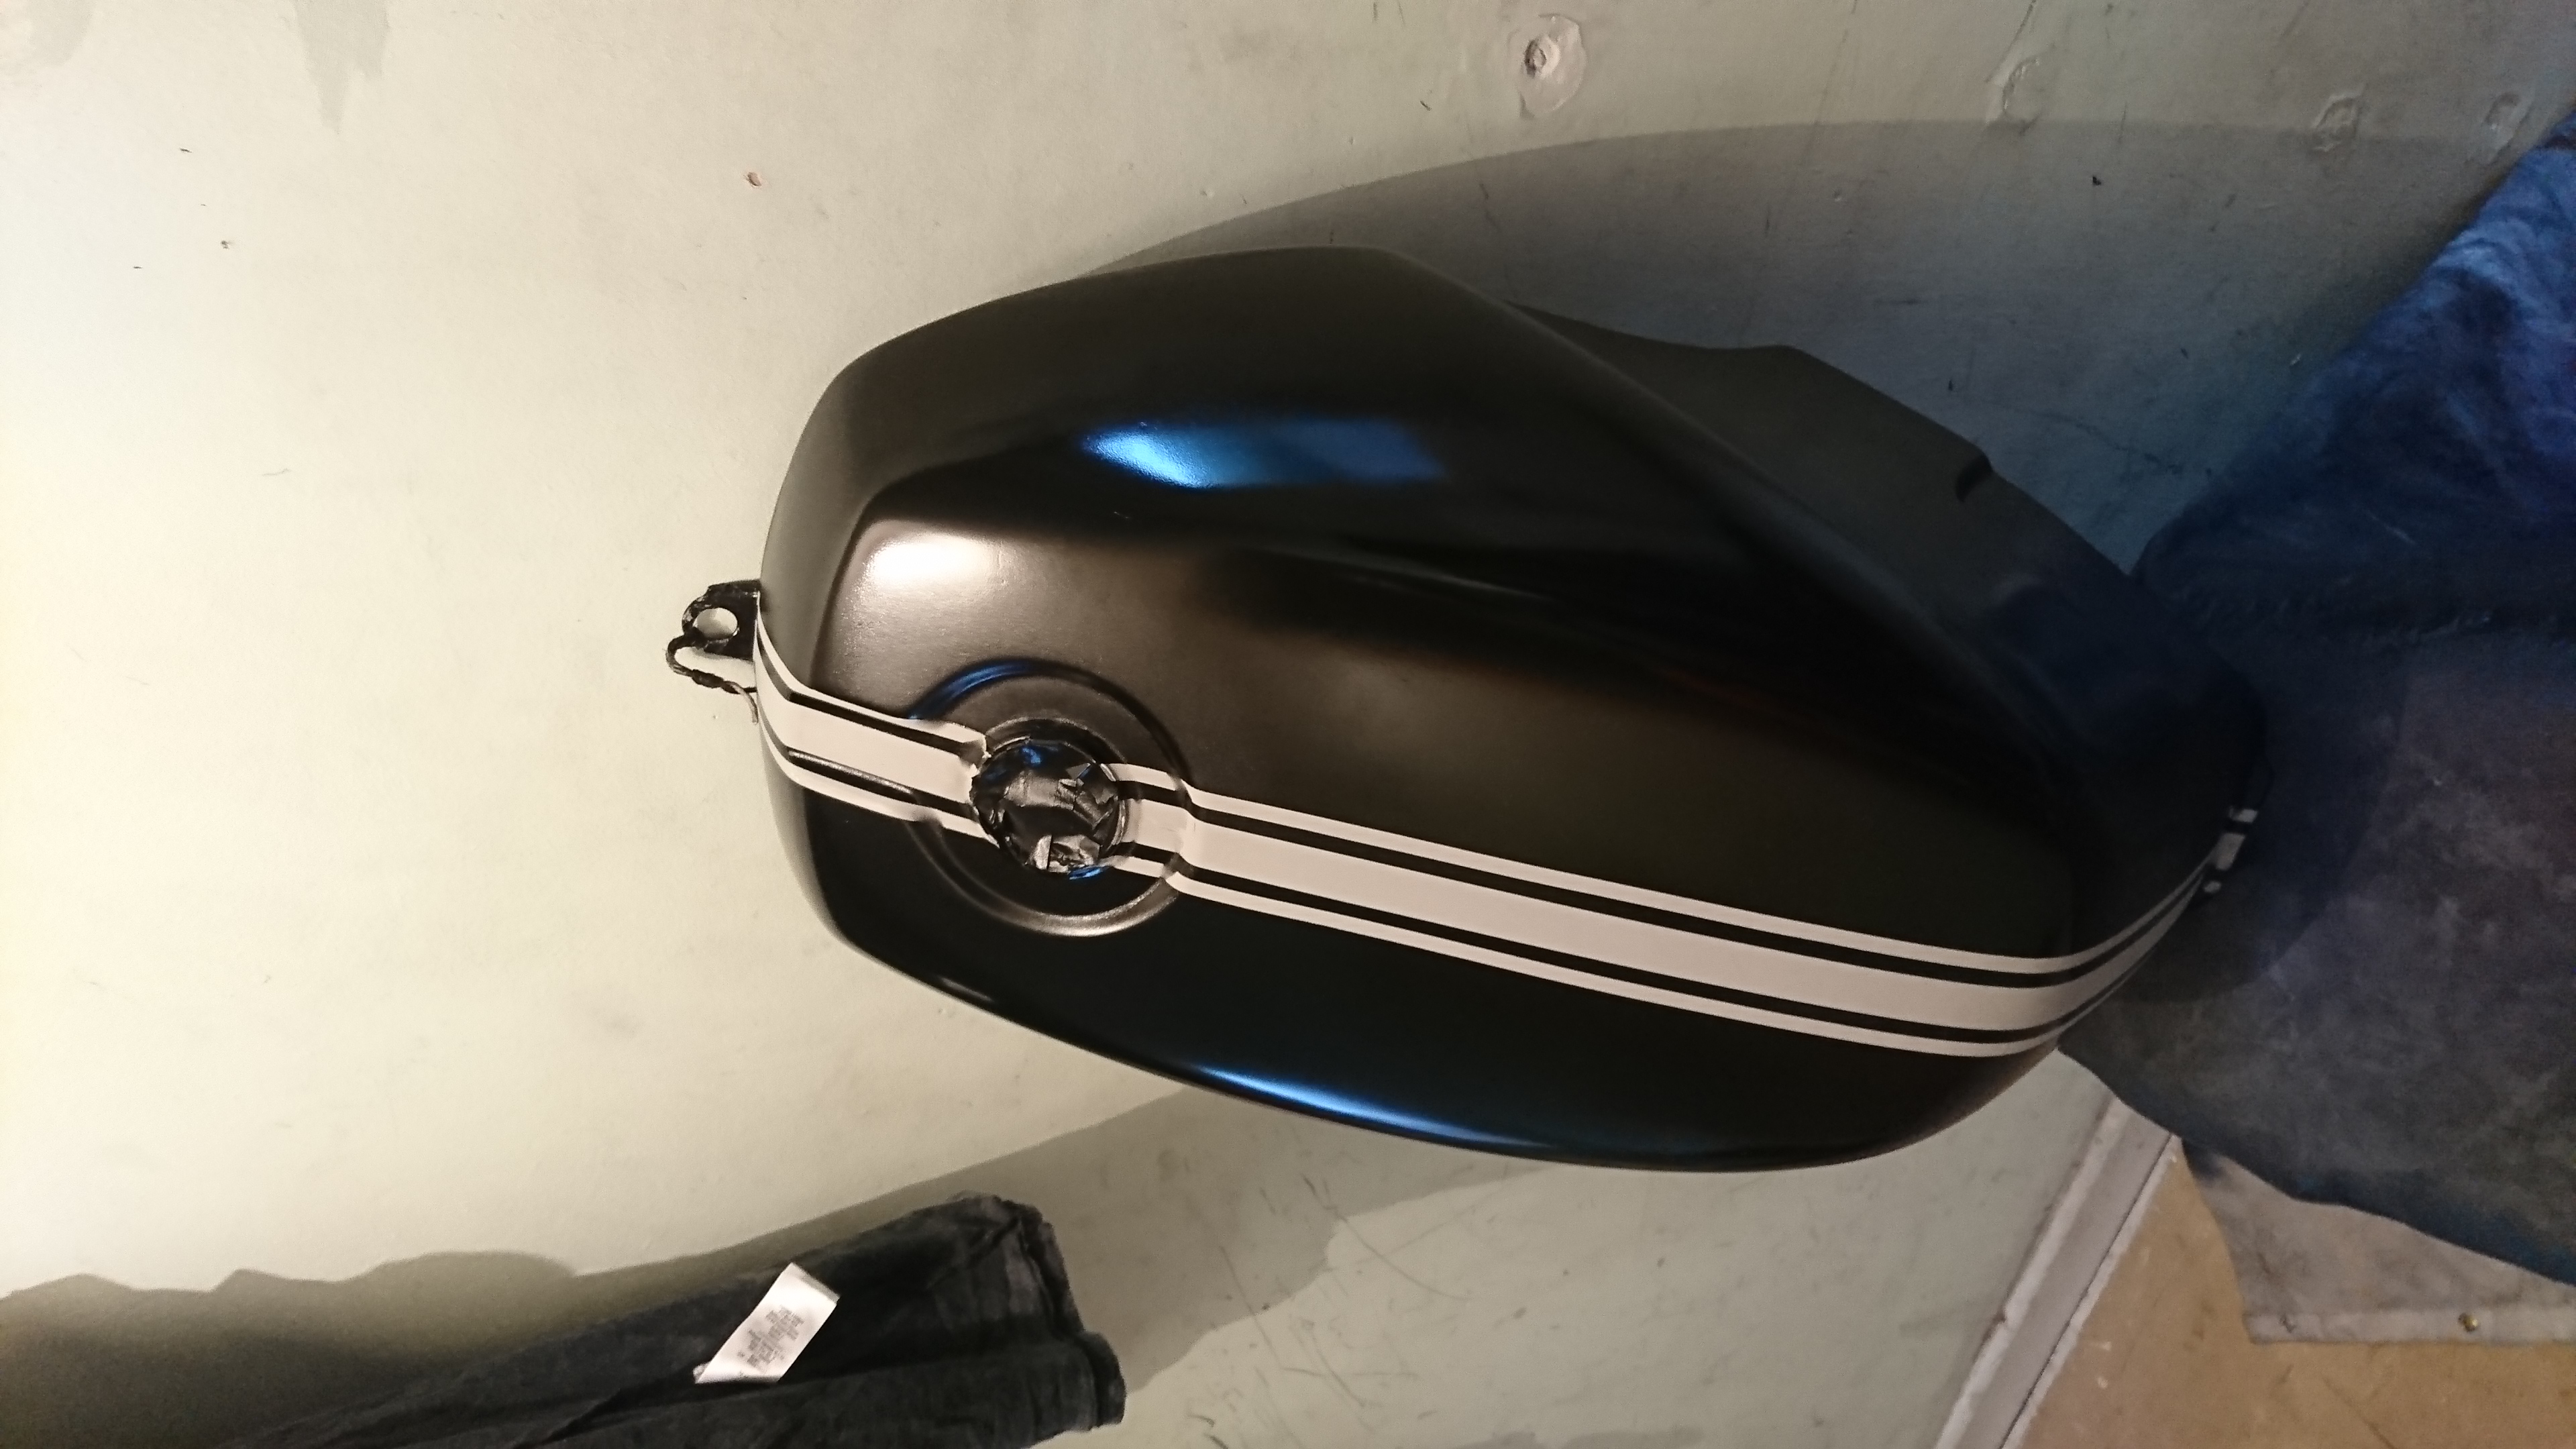
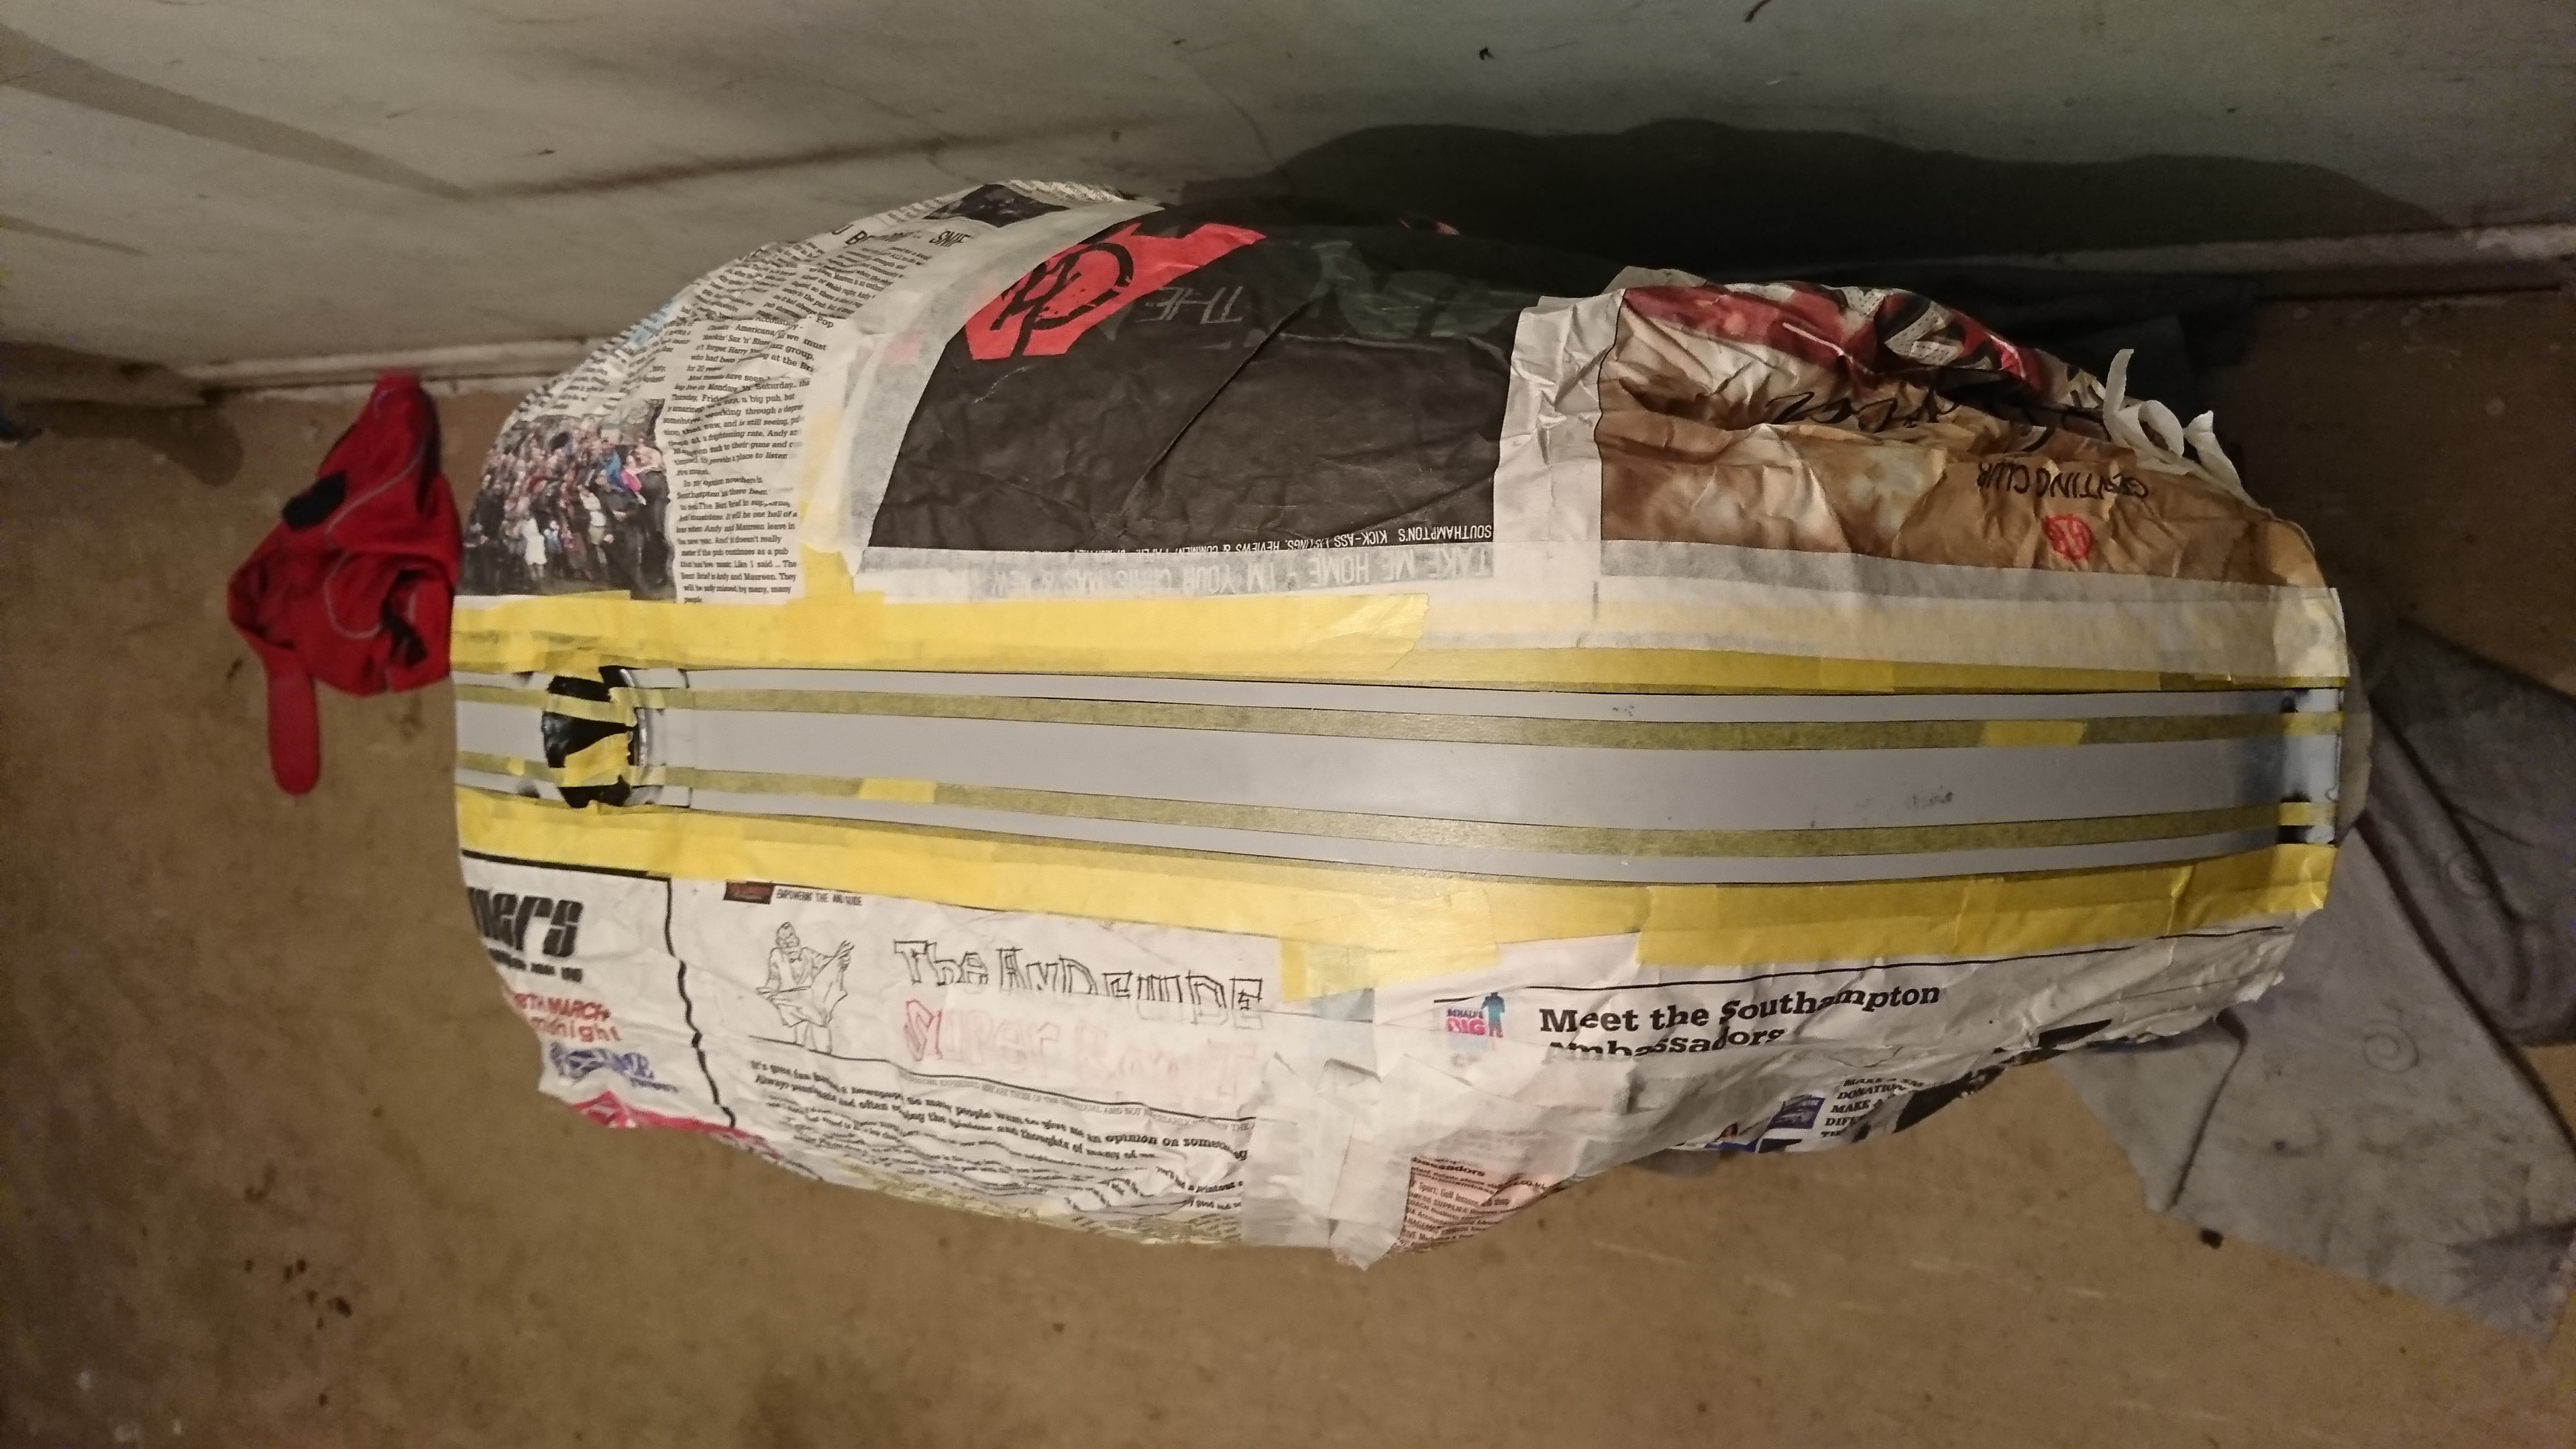
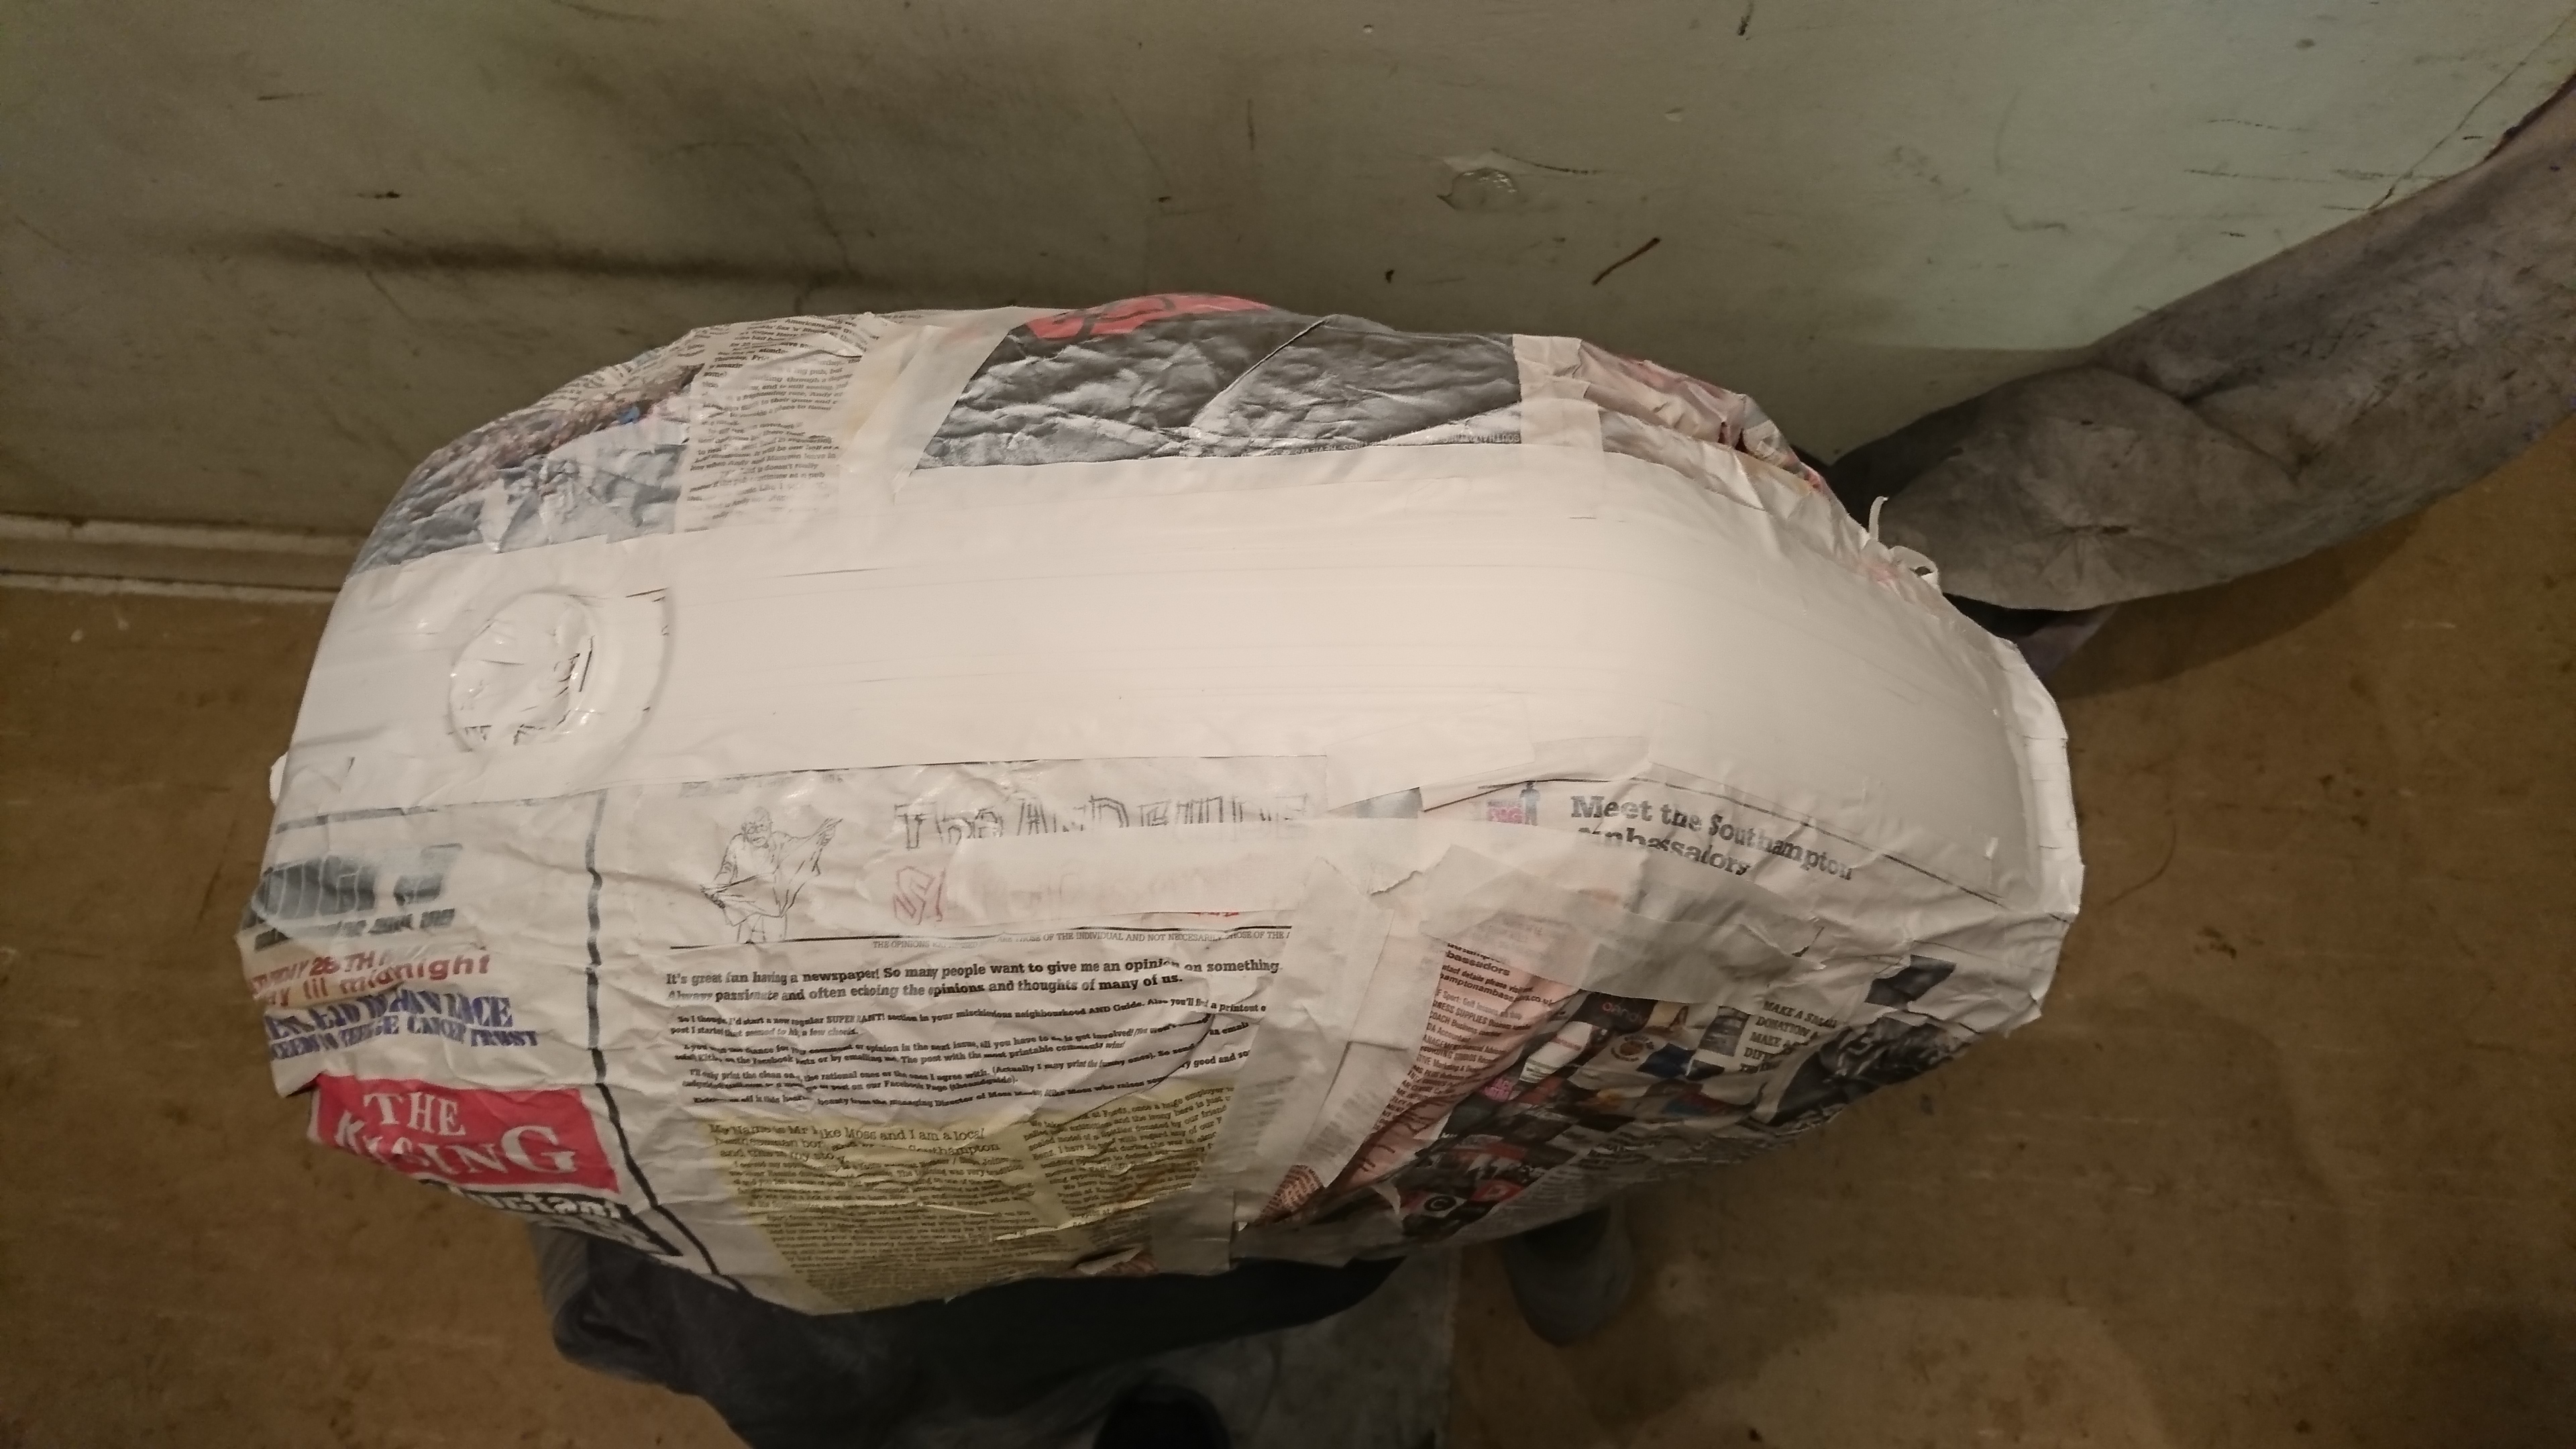
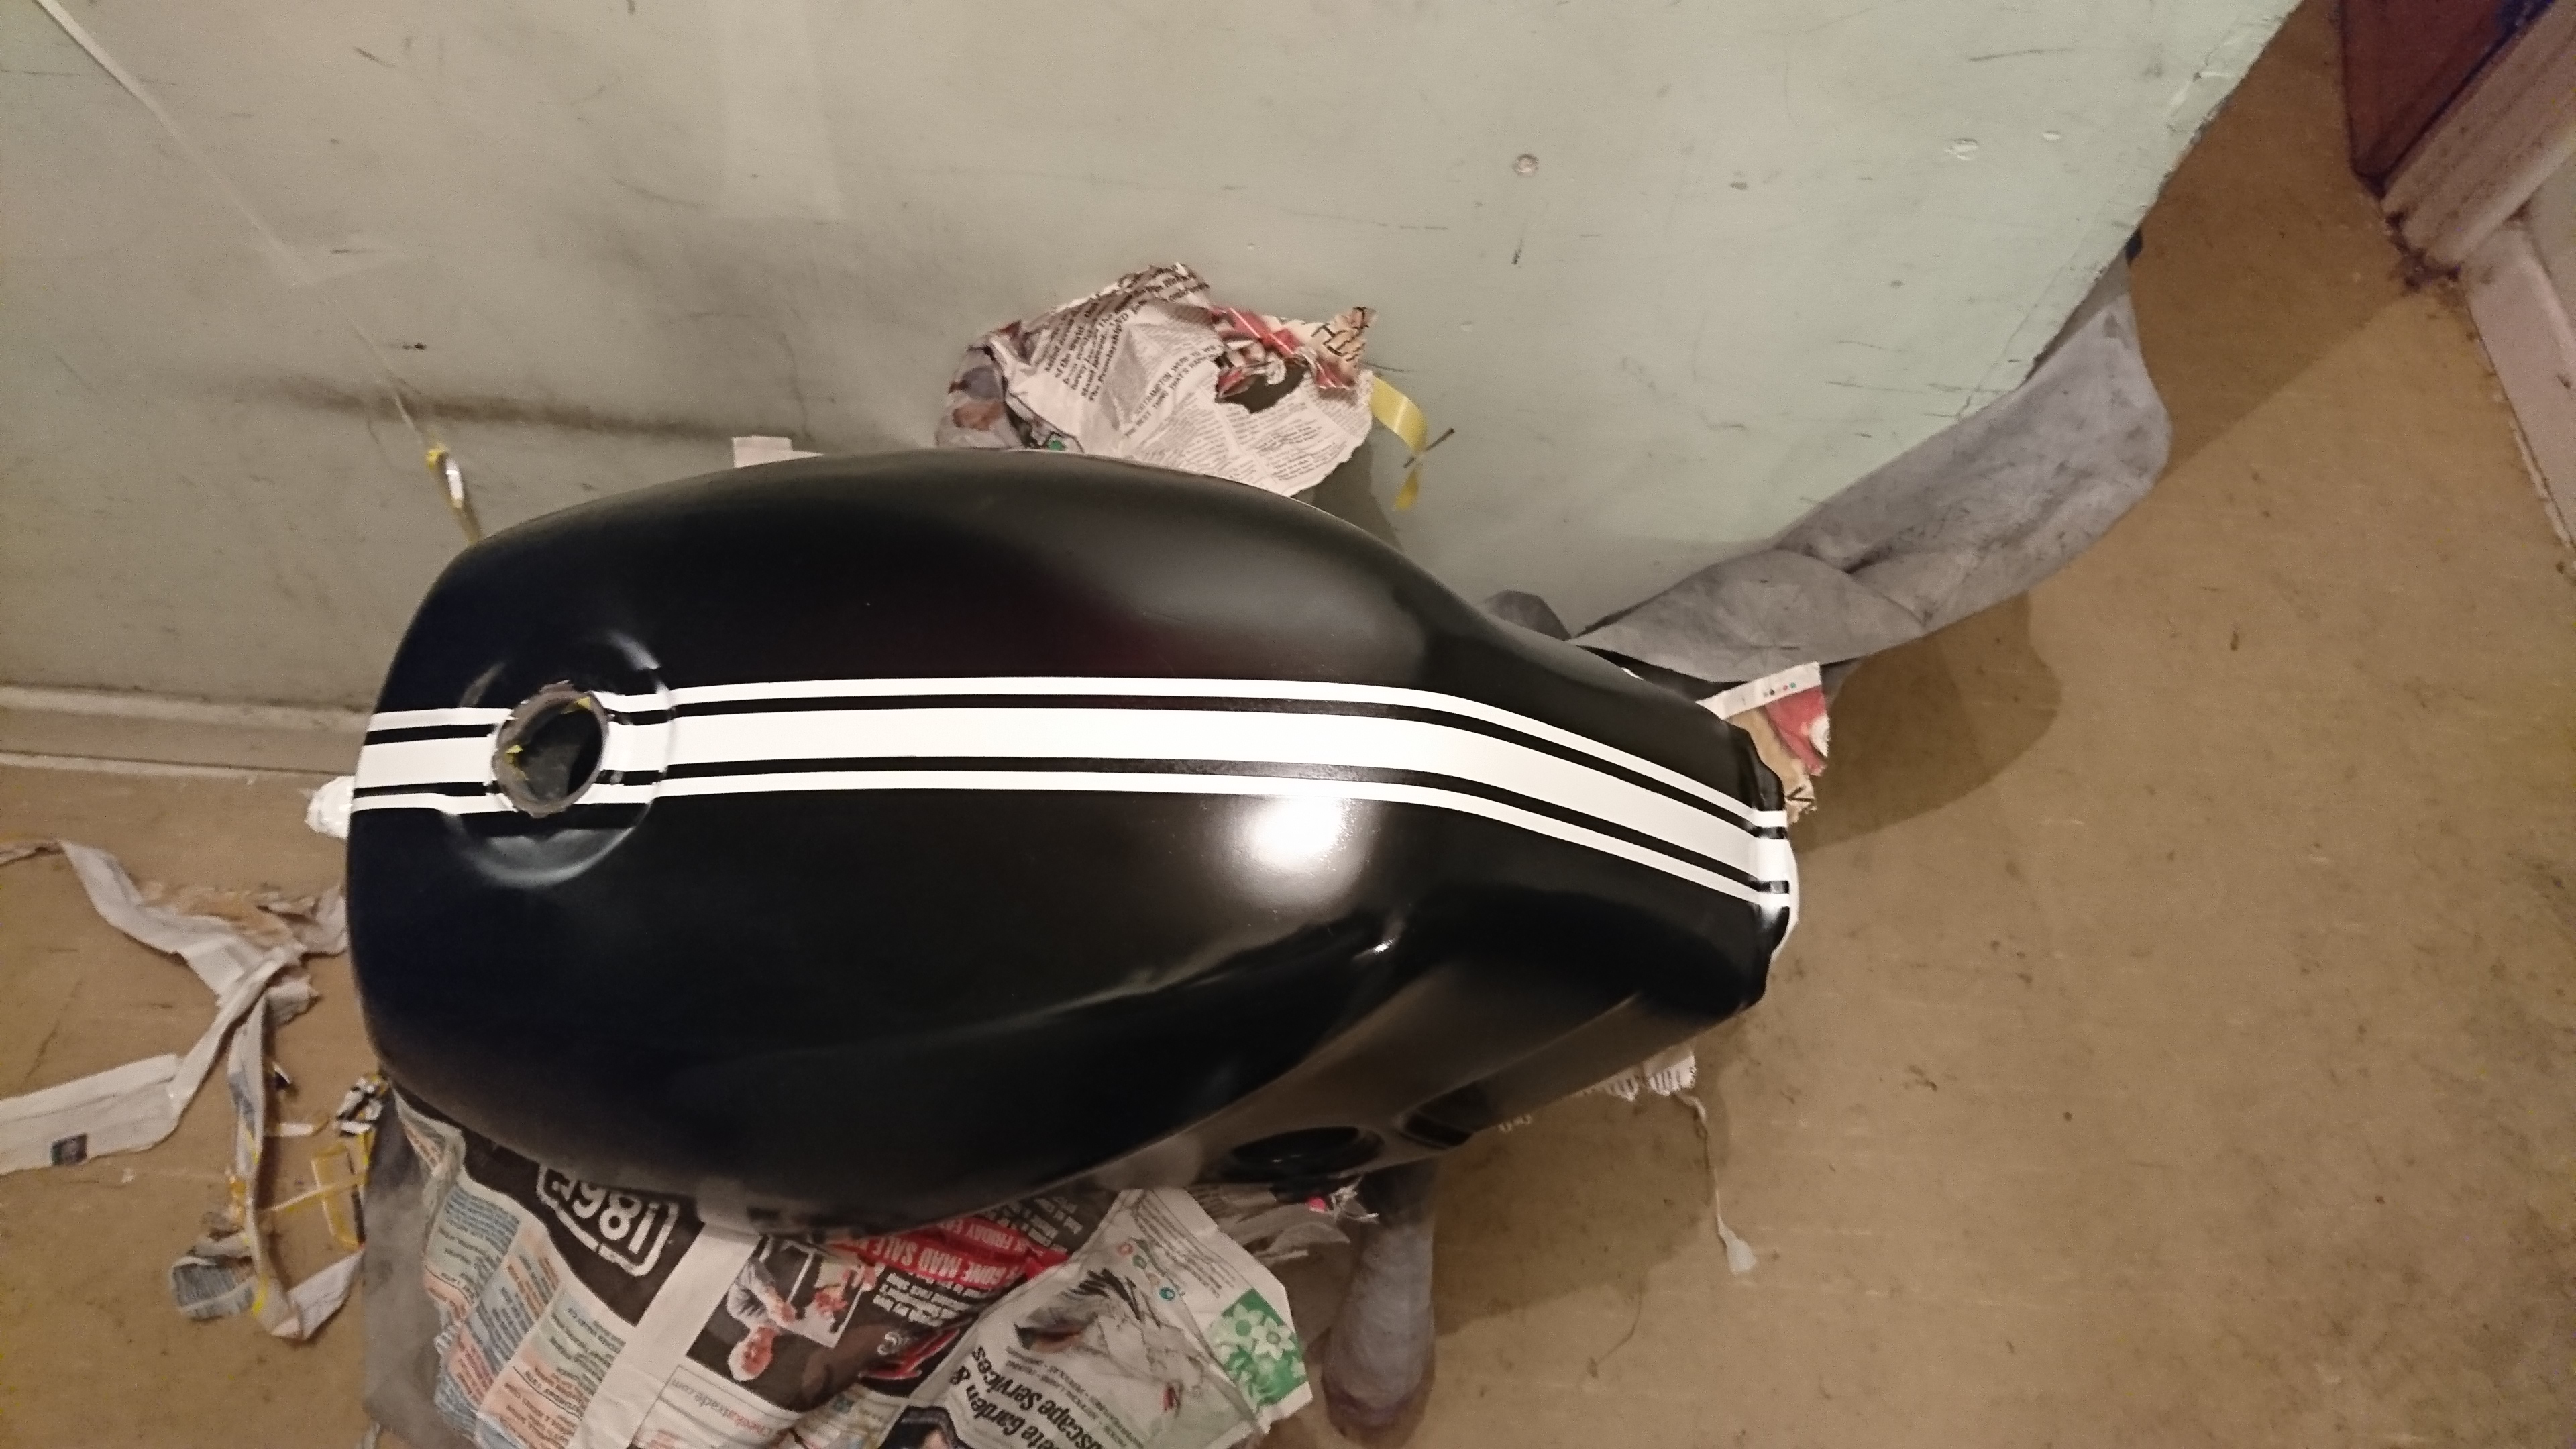
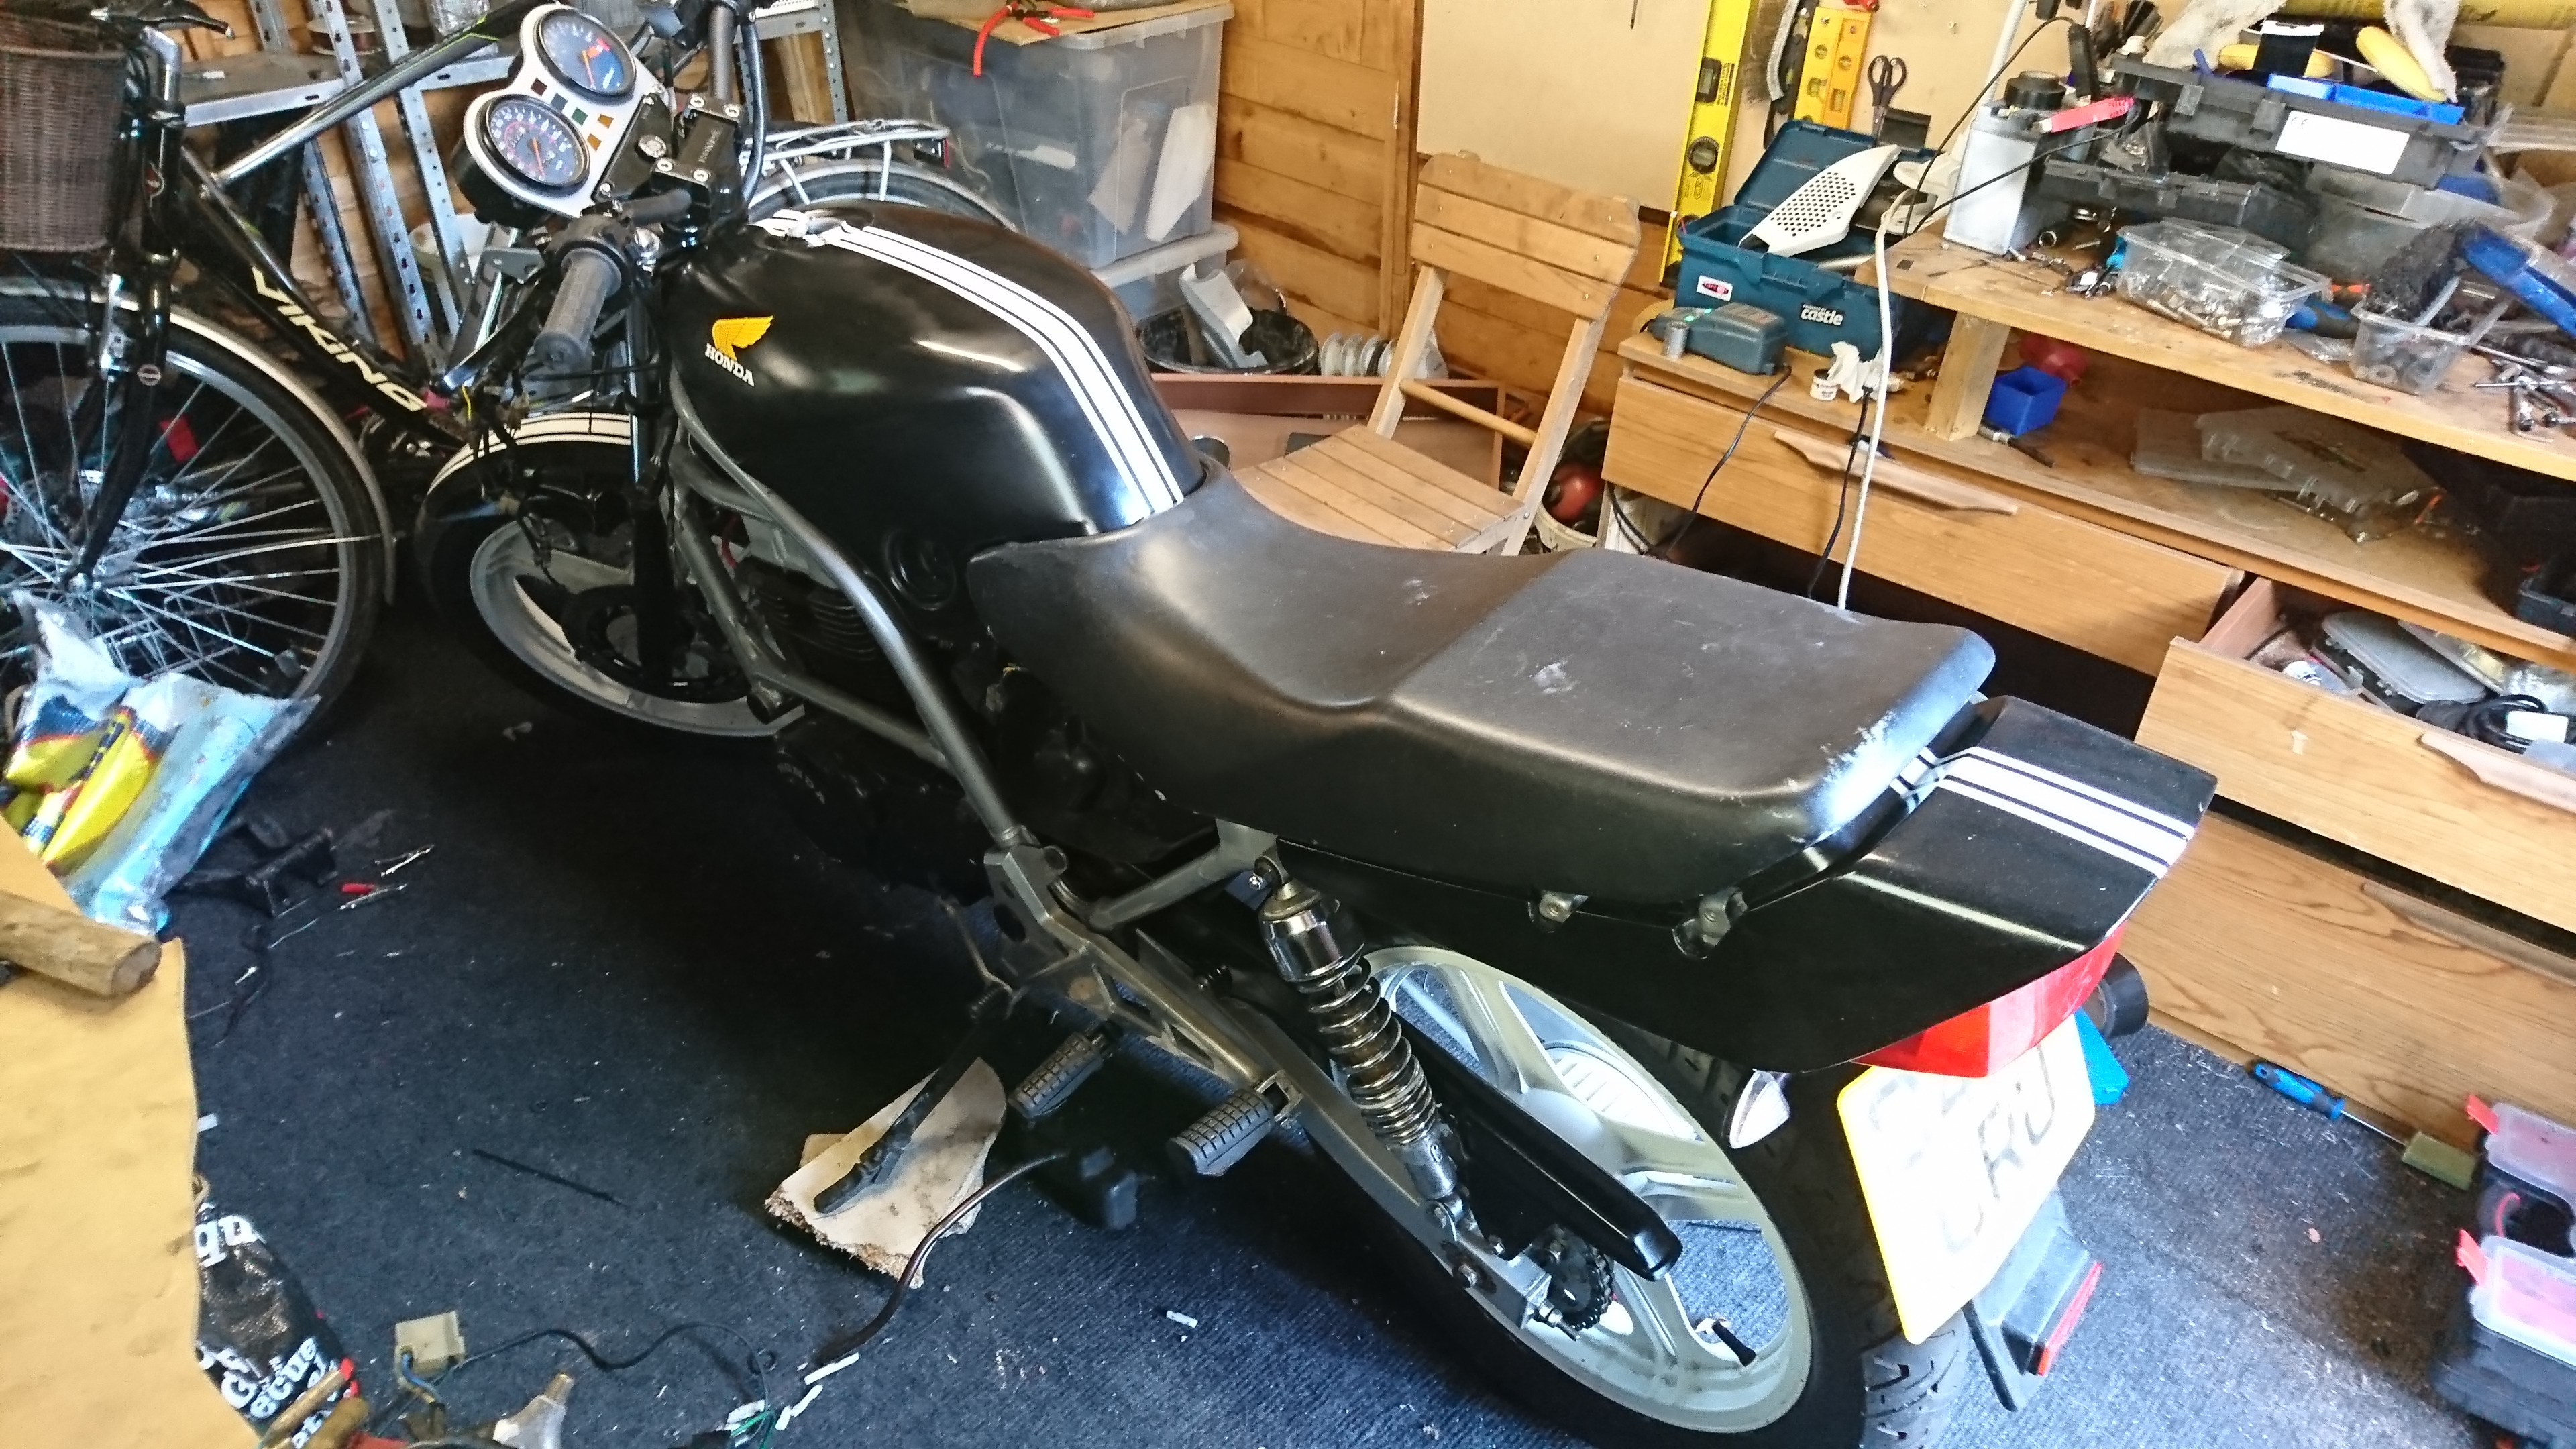
After some further research, I decided that the tank would be sprayed in acrylic paint so that I can fuel proof the tank with the relevant lacquer, as Celleouse paint was open to debate when it came to fuel resistance. The tank was sanded down and the stripe masked with the first coats of black painted in. This was then removed so you can see how the stripe will look. The rest of the tank was masked and then the white painted on. This took a few goes and required some hand touching up as the masking lifted and caused creeping of the paints.
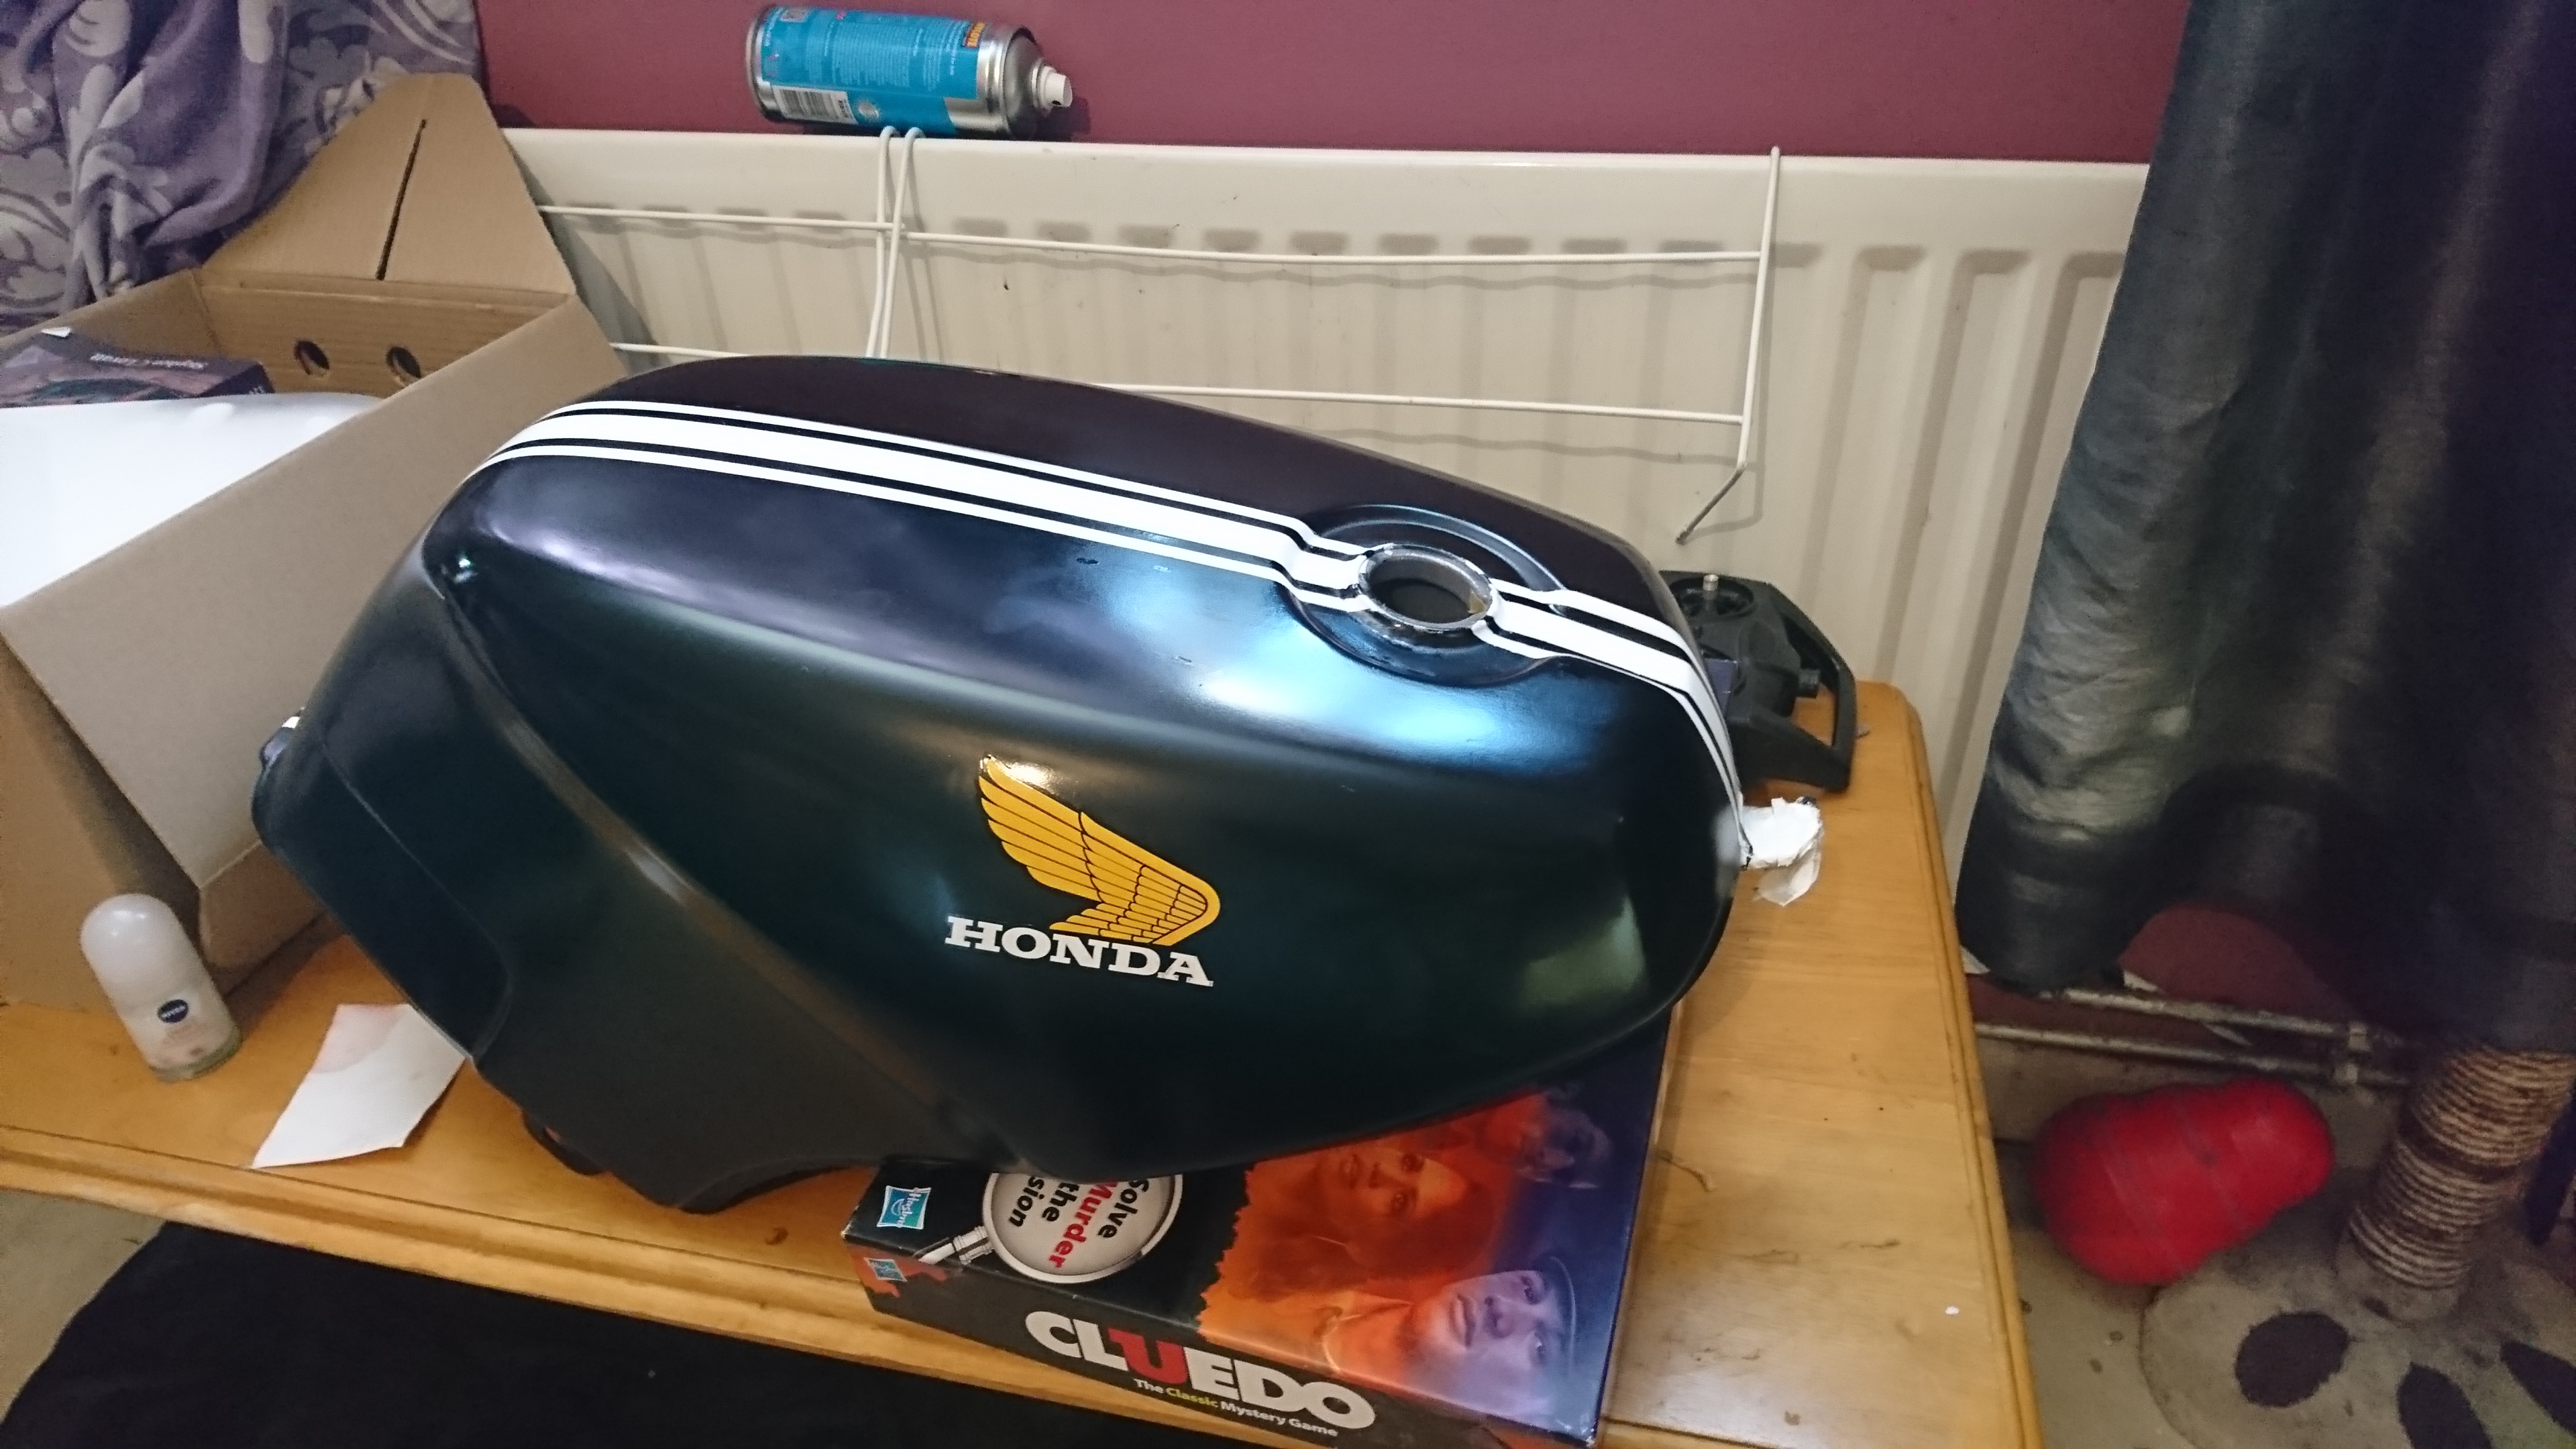
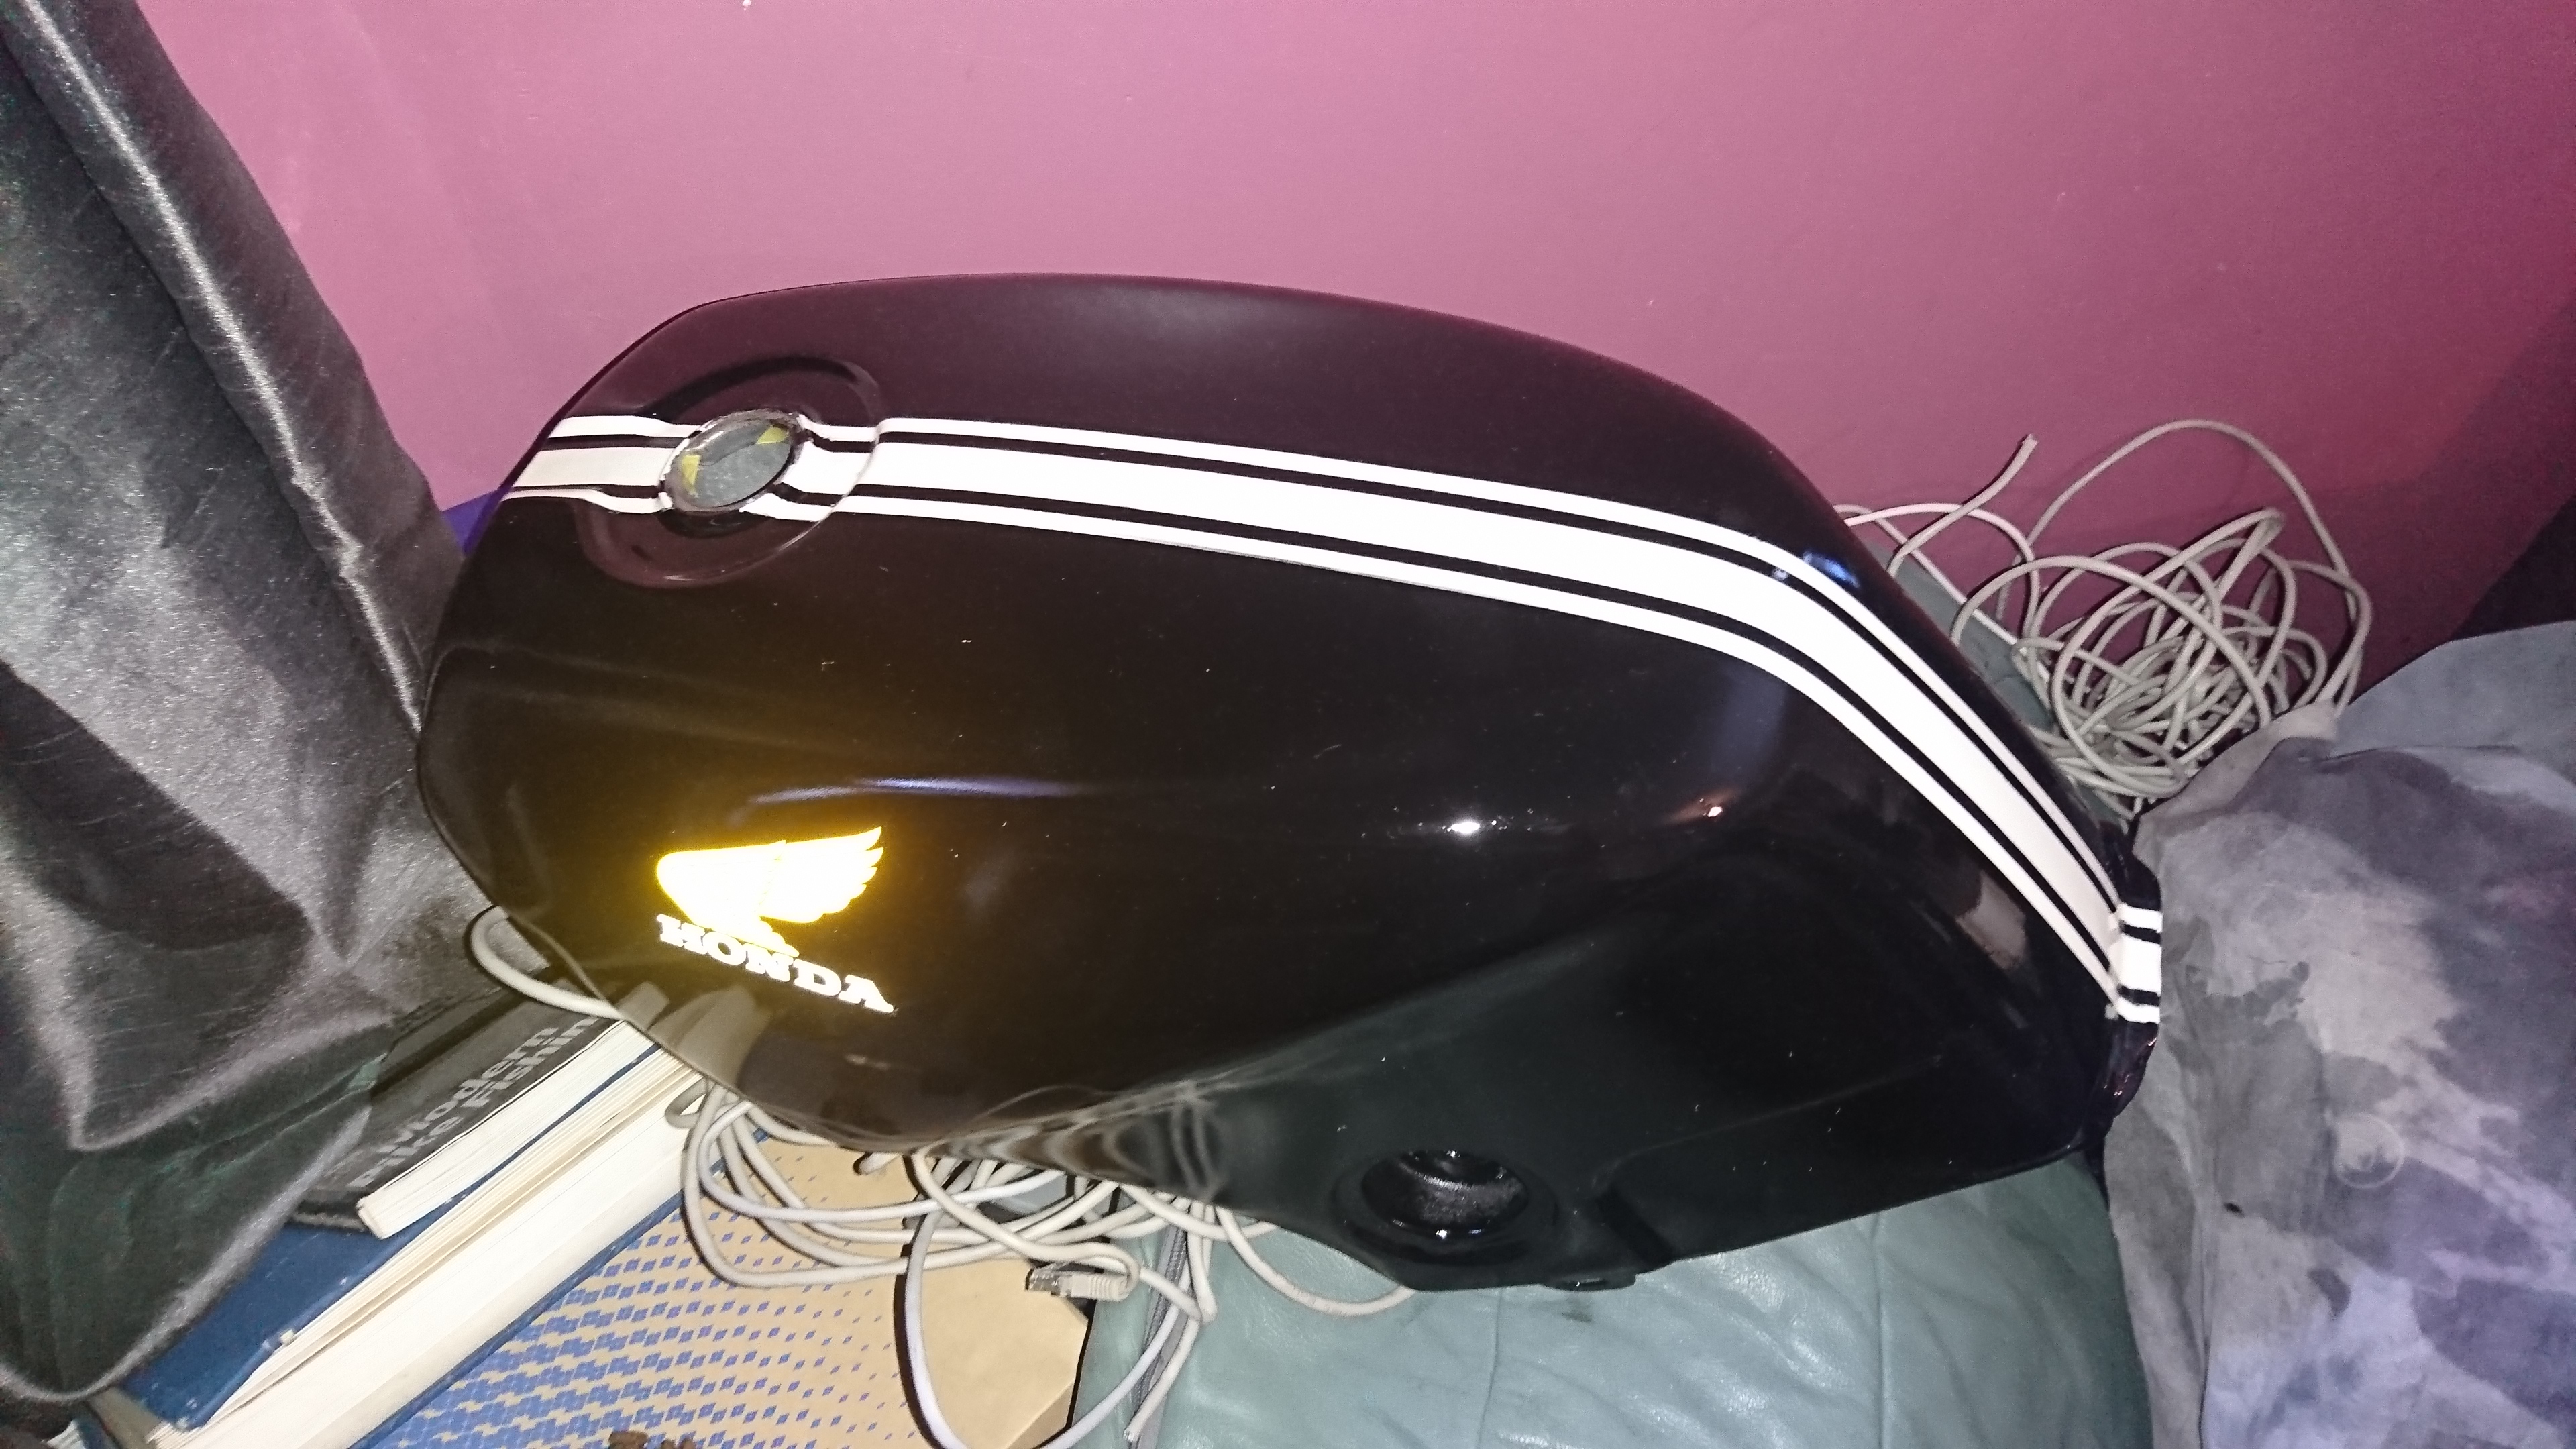
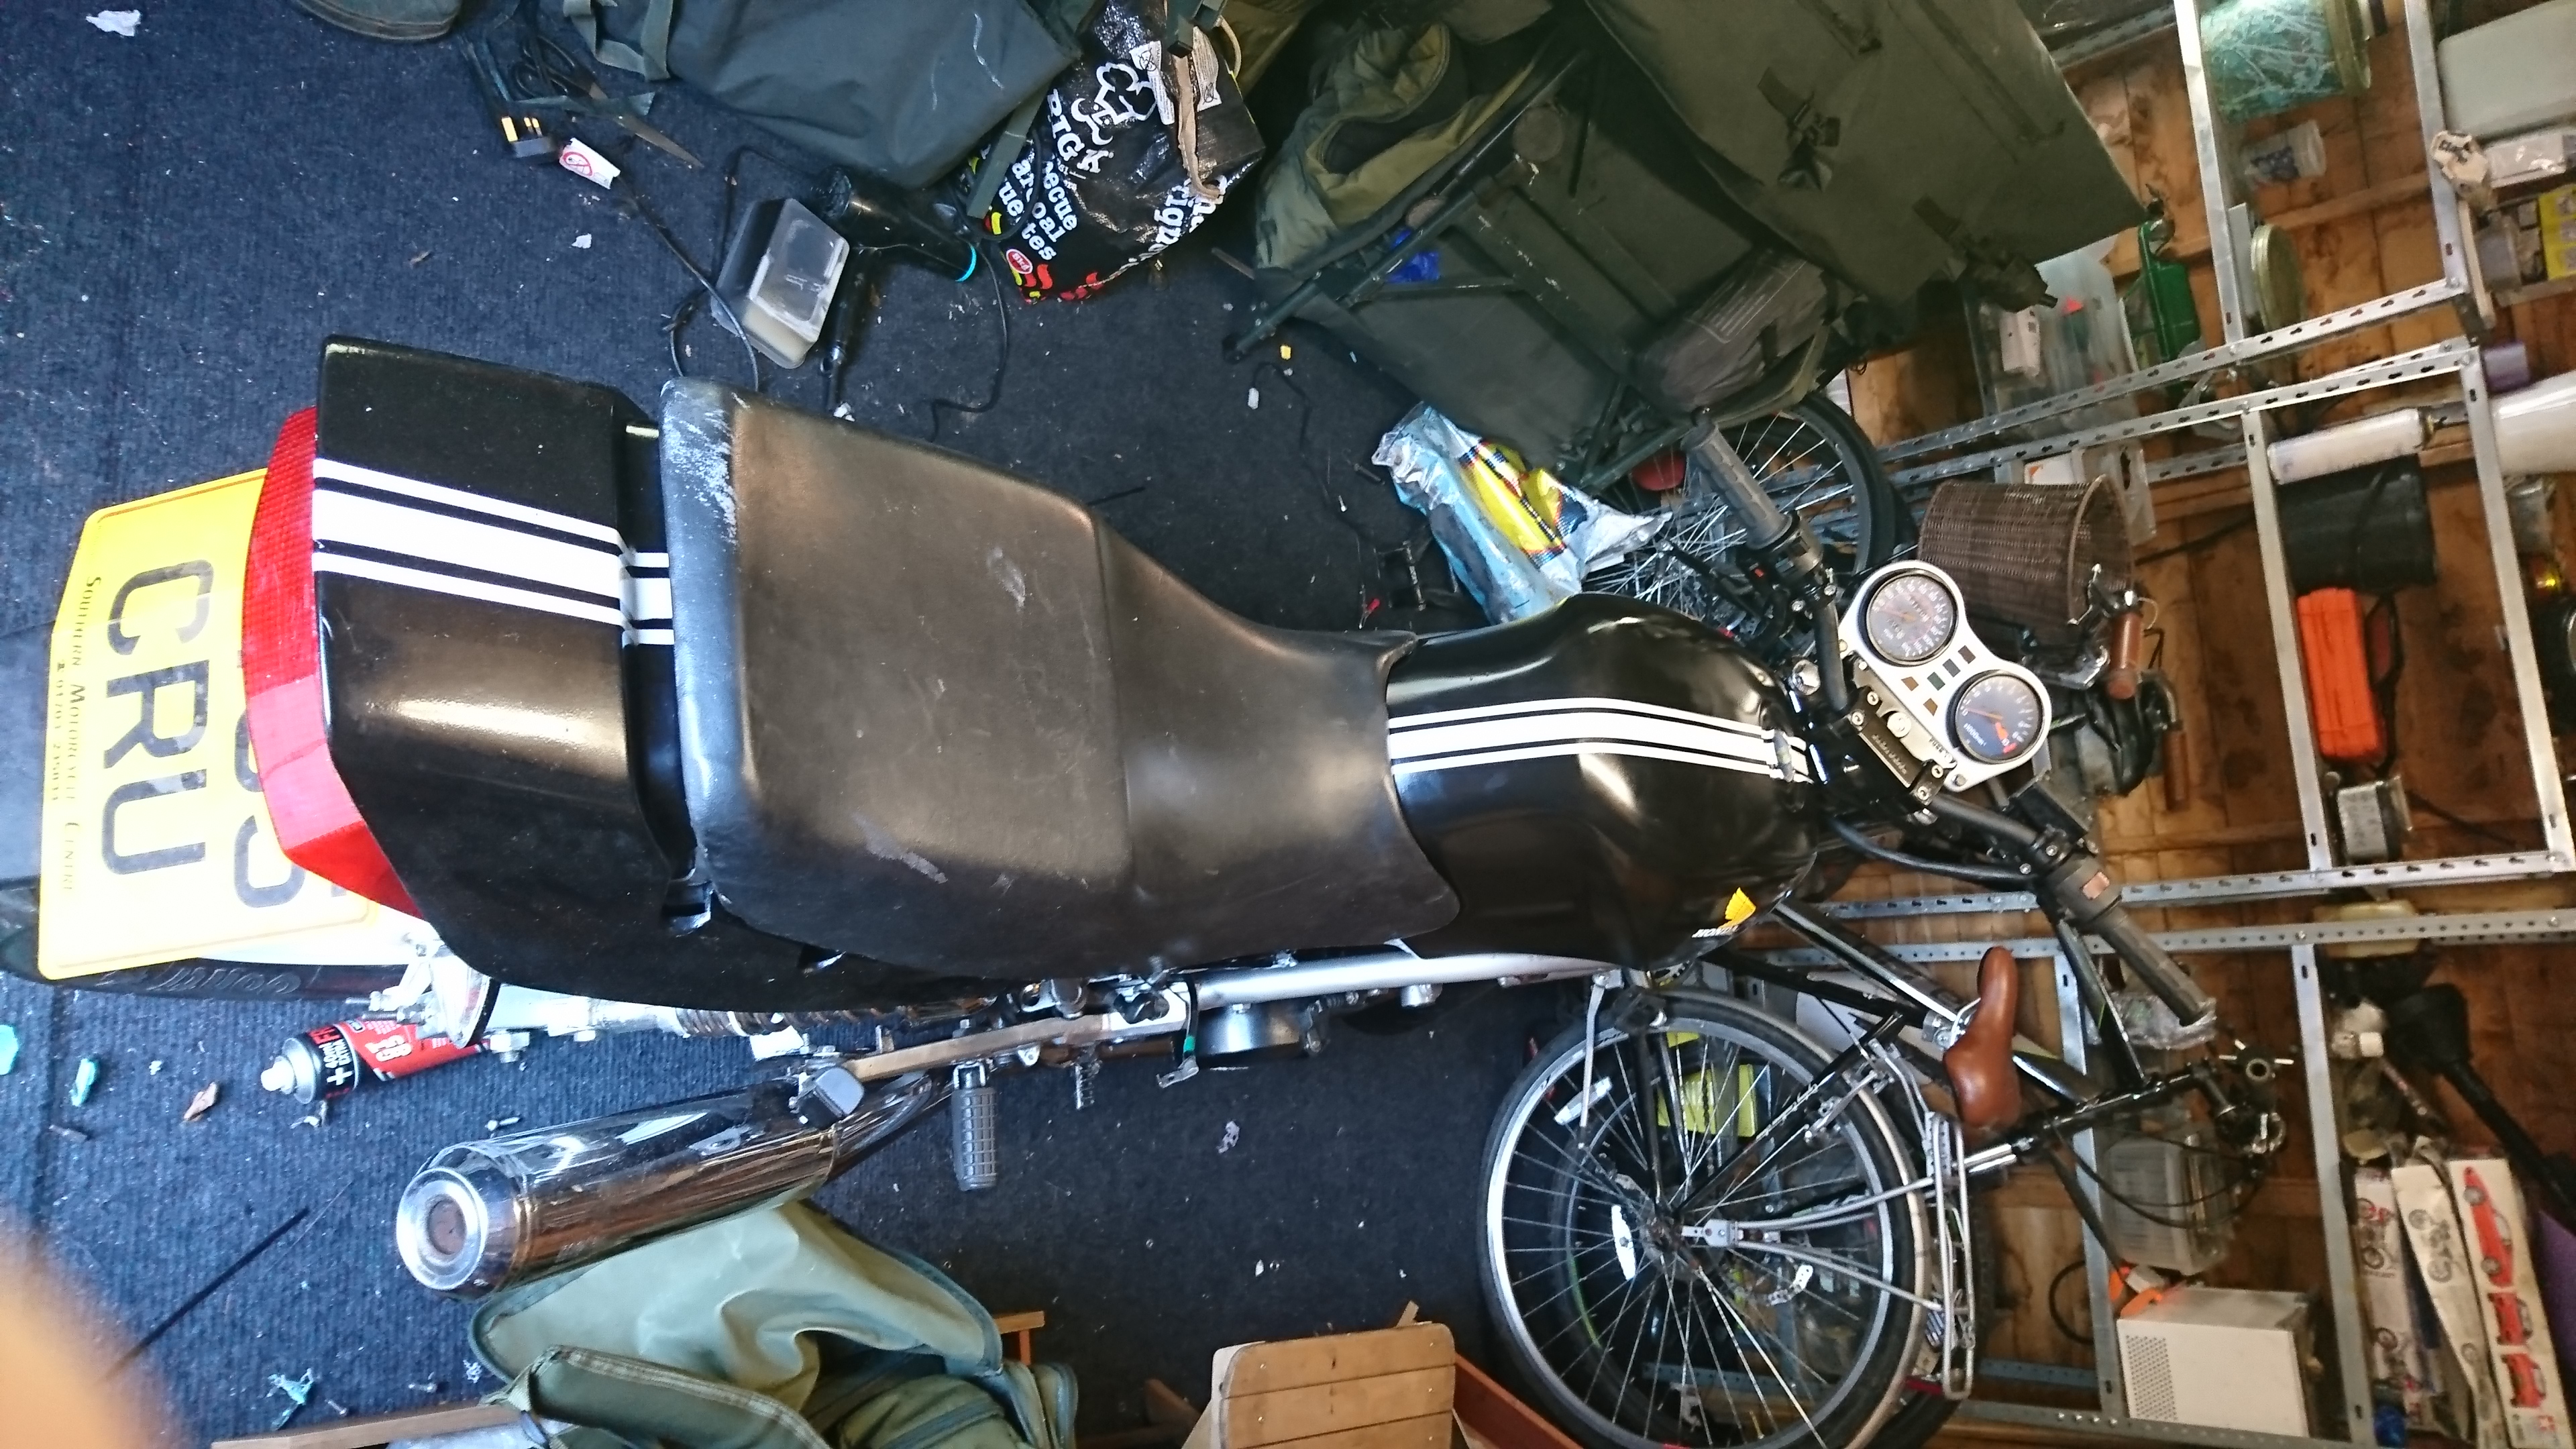
The stickers were added and some test fits of all the panels in place before being removed and the tank lacquered with fuel resistant lacquer and left to cure.
All that was now left to do was to fix the bodywork, clocks, headlight, and indicators.